If you need clarification for any of the stitches mentioned, you can find my crochet basics playlist on YouTube.
We’re starting at the top of the heart – sc6 into a ring
Increase into every stitch for a total of 12 stitches
Sc around once
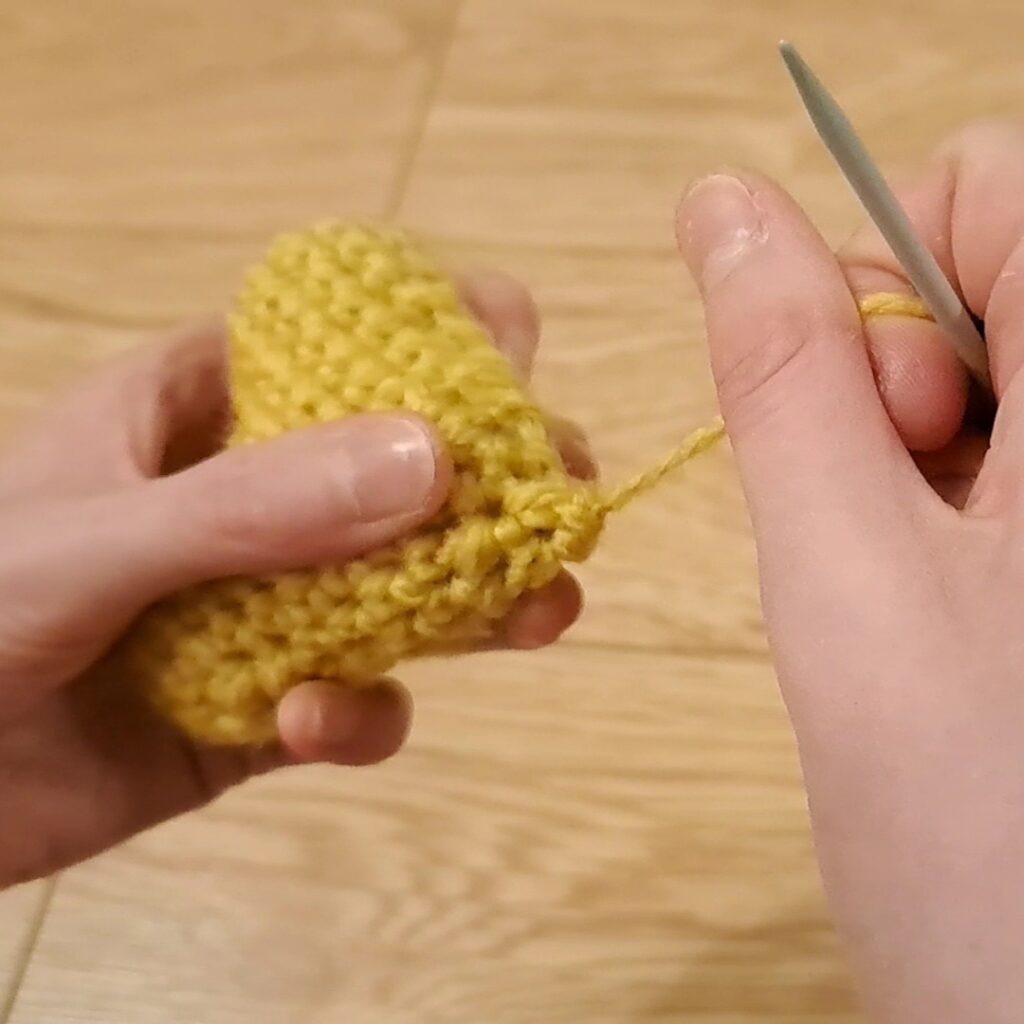
Cut your yarn and fasten off this first section
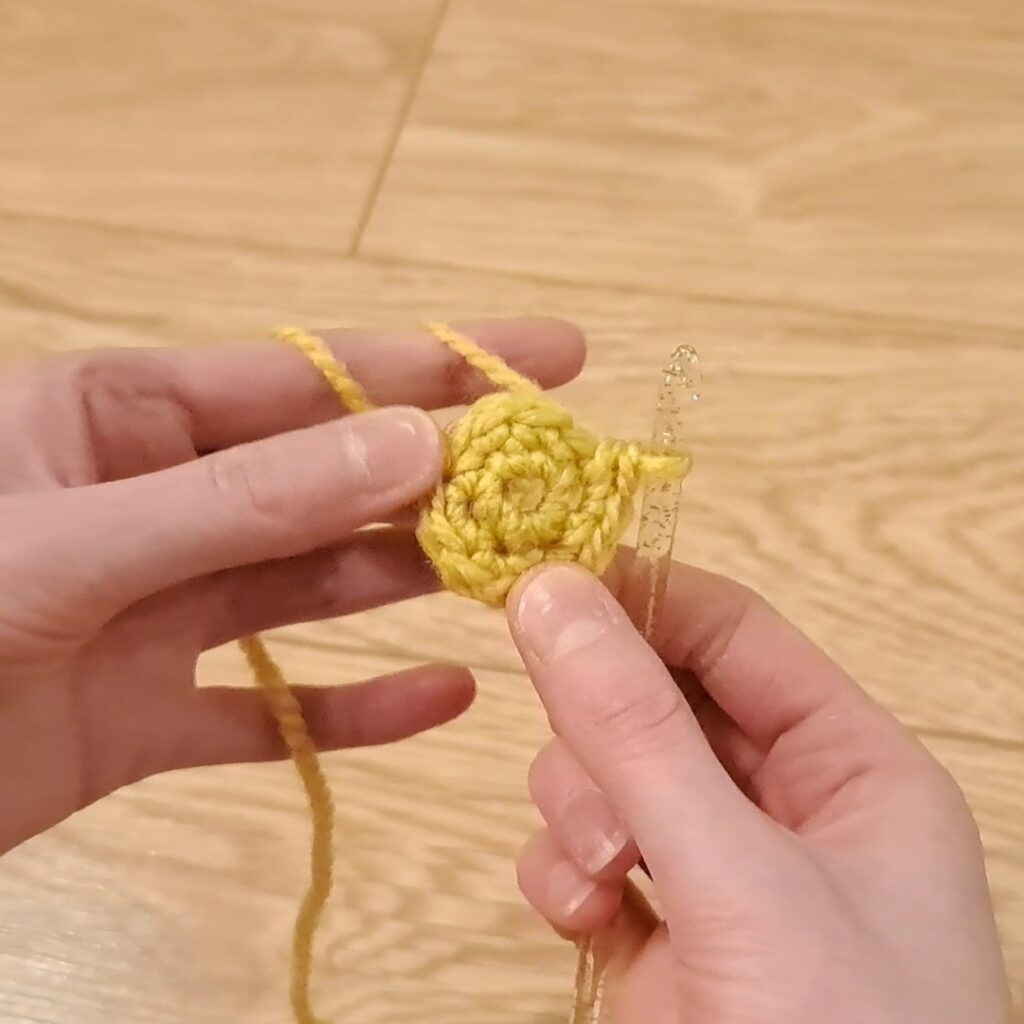
Here’s our first 12 stitches.
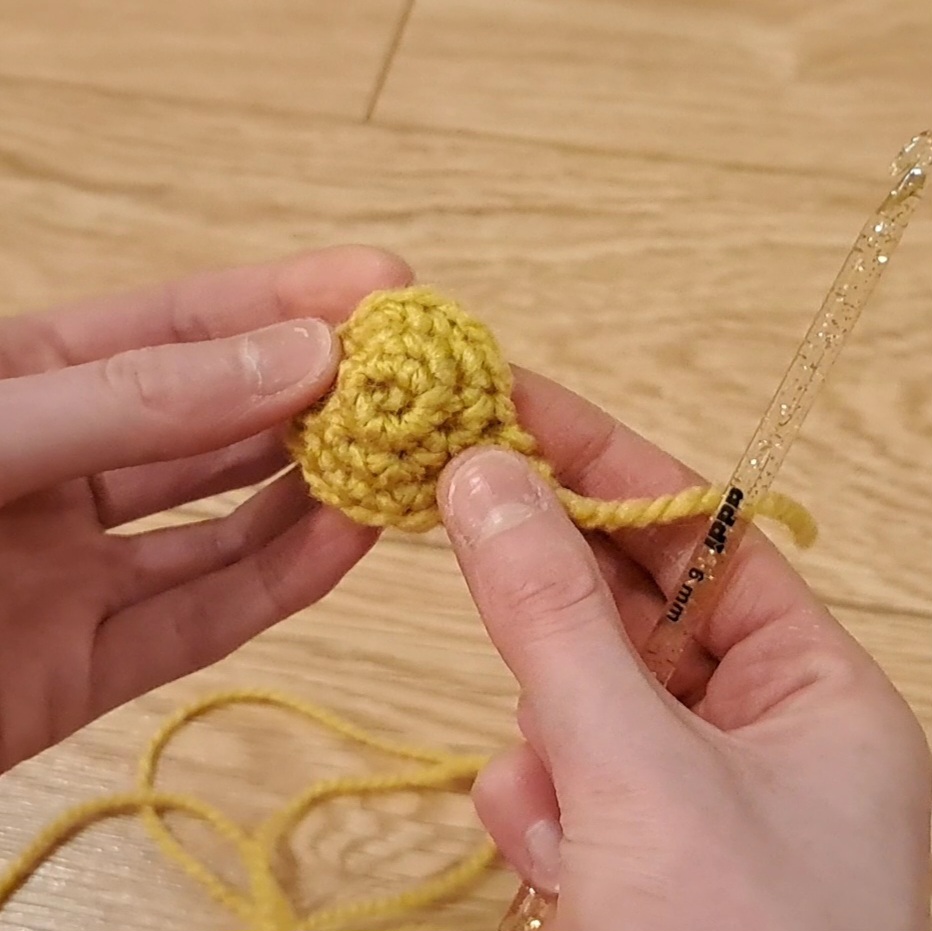
Here’s how it should look once you cast off the first piece.
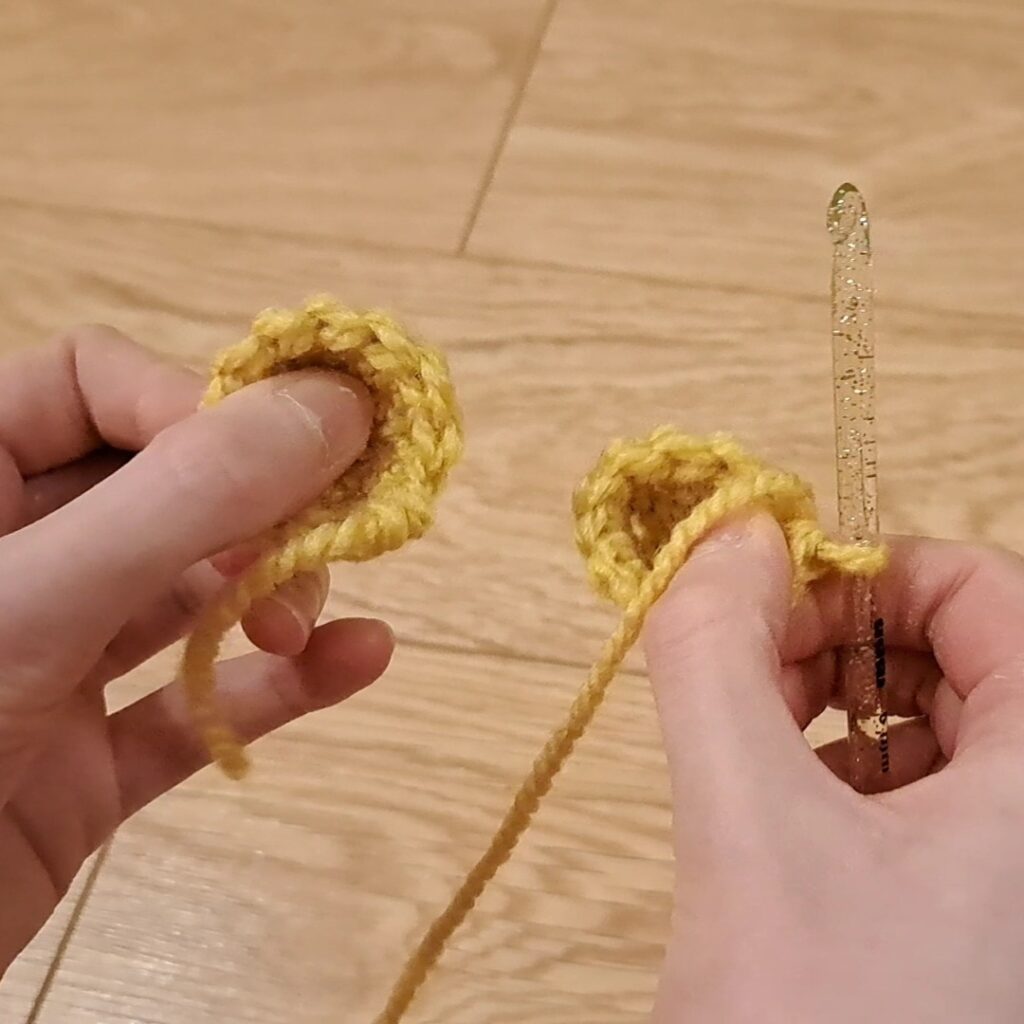
Repeat these steps again, so you have 2 semi-circles. Don’t cast off the second piece though!
Now we’re going to join these together.
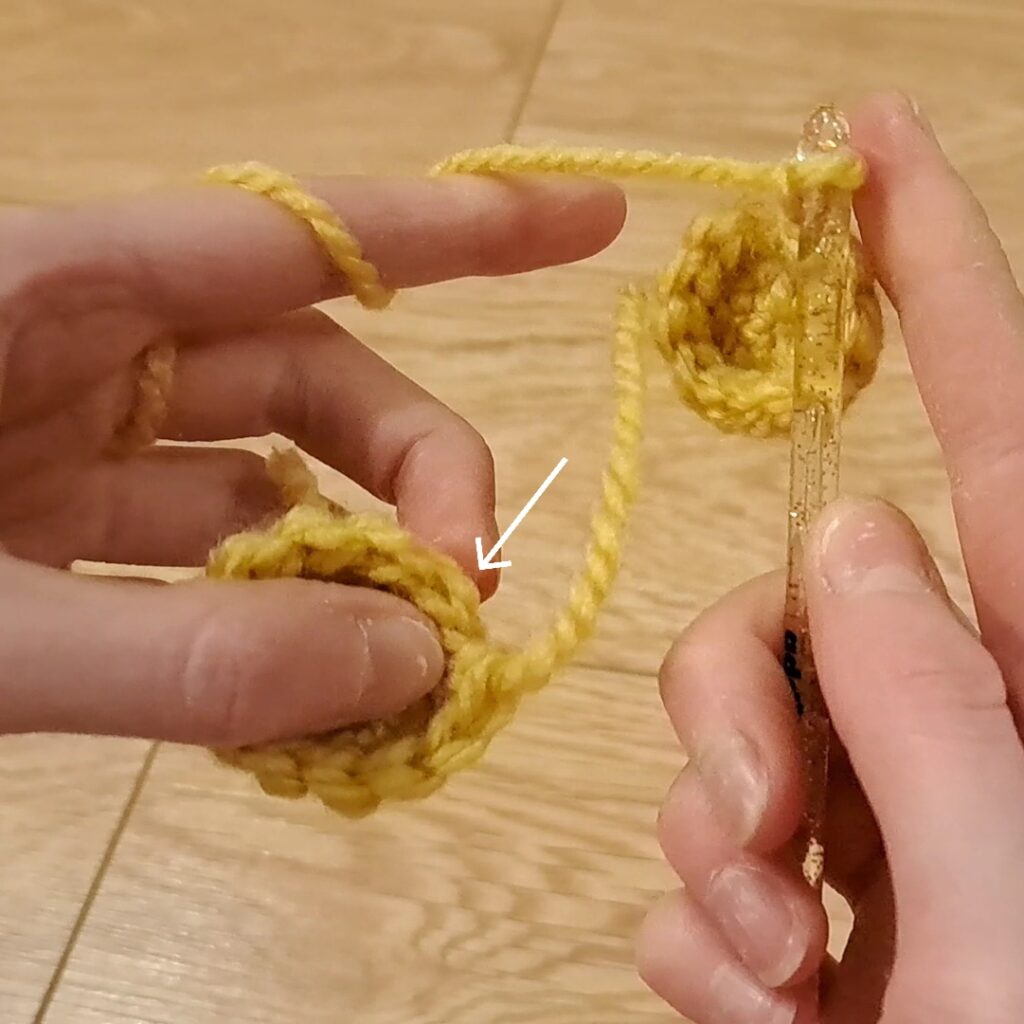
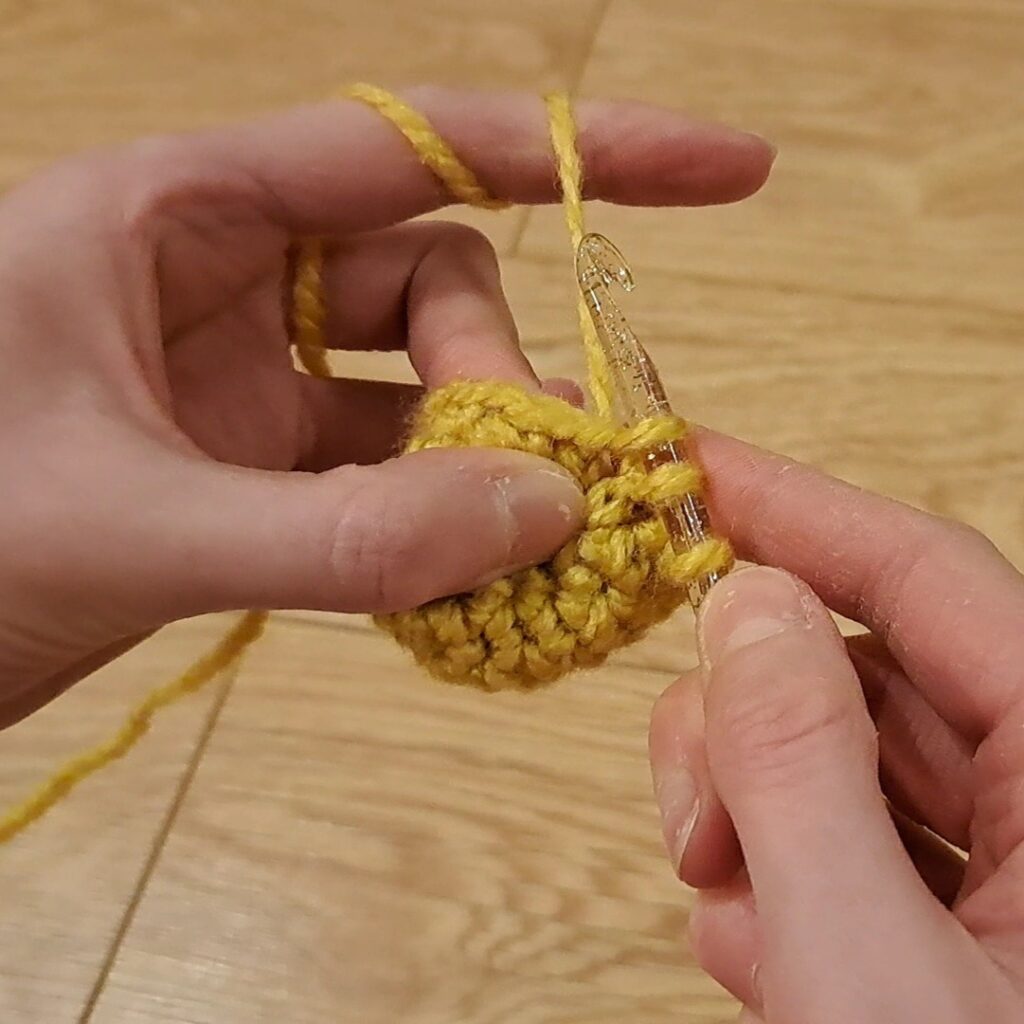
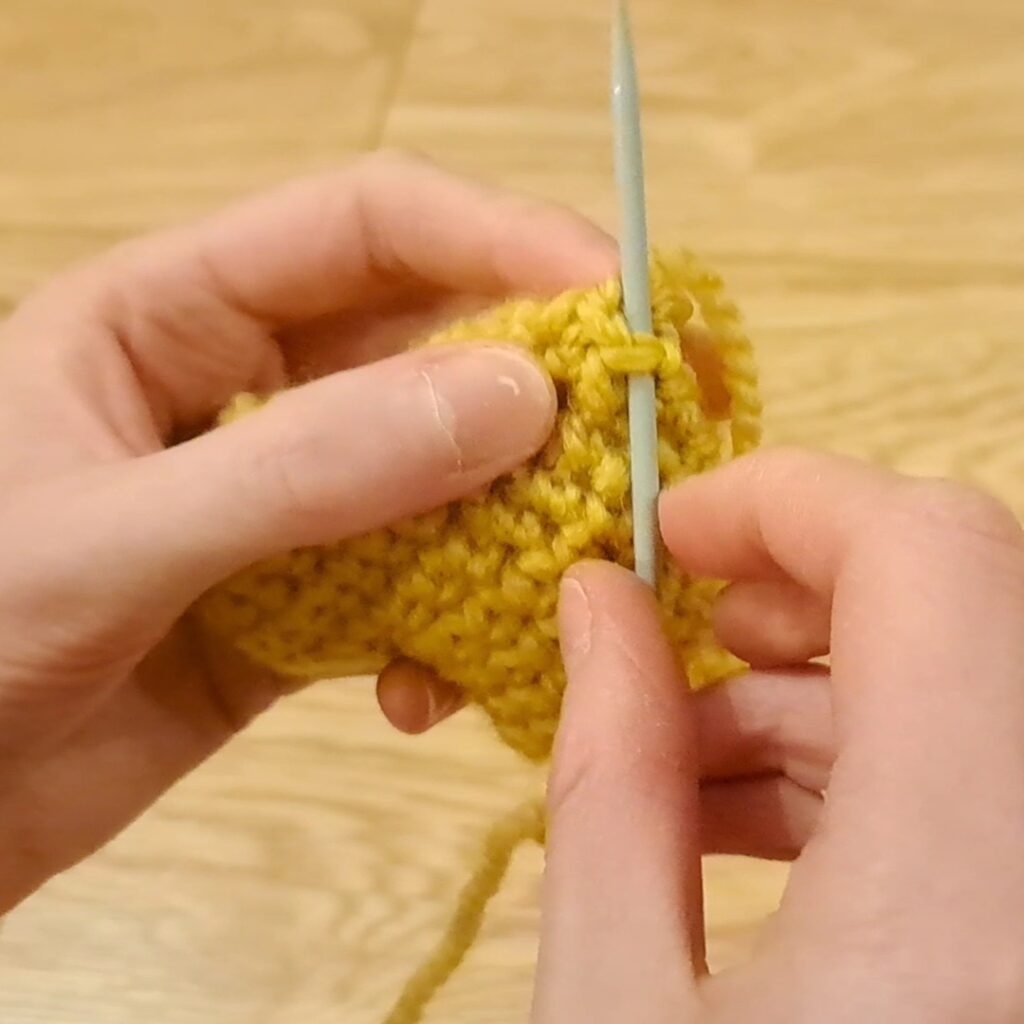
Continuing on with the second piece, ch1
Then join to the first piece with a sc in the first stitch of the next round
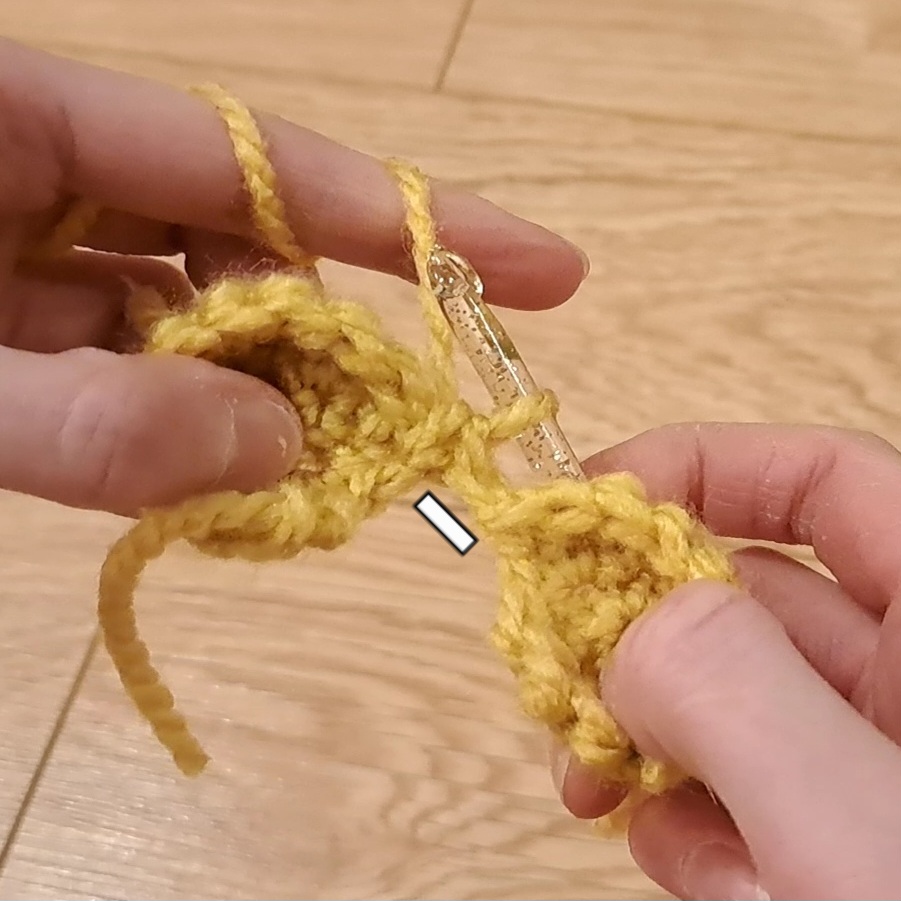
It should look like this, the ch1 is marked with a dash.
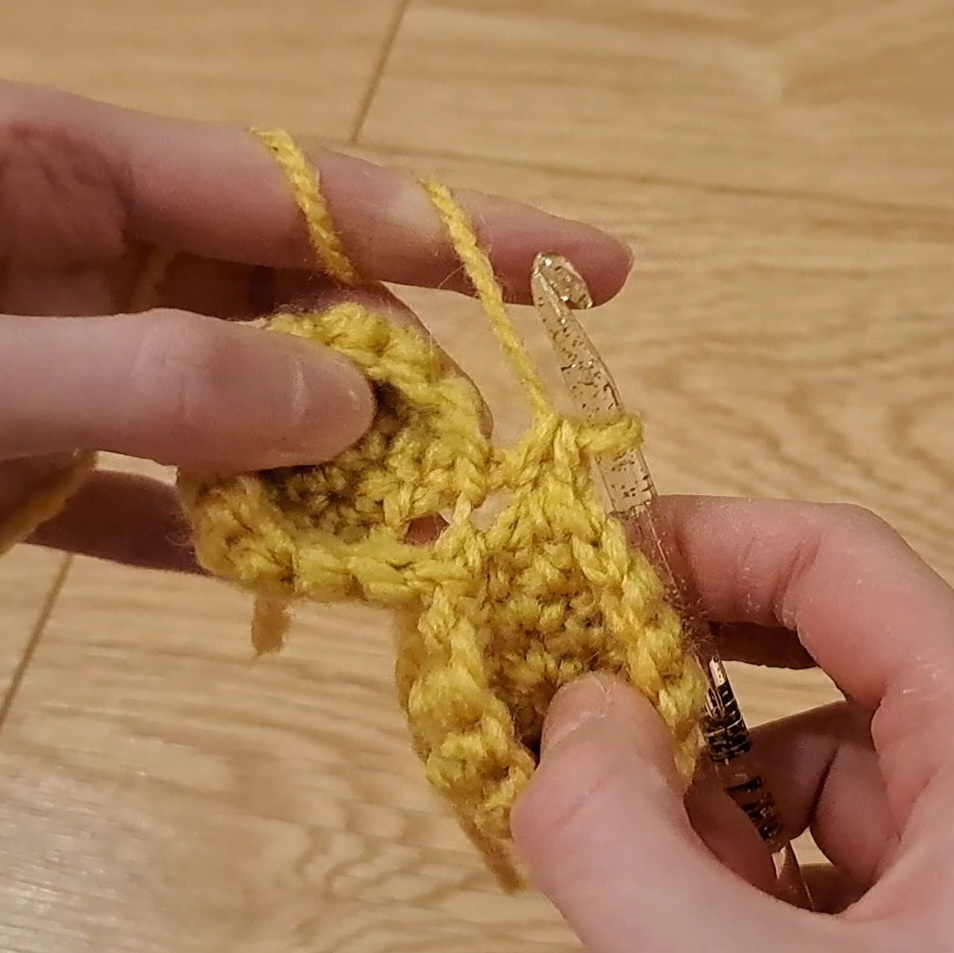
Sc11 more around the first circle
Sc into the back of the ch1
Sc12 around the second circle
Sc into the other side of the ch1 – this completes our round, you should have a total of 26 stitches
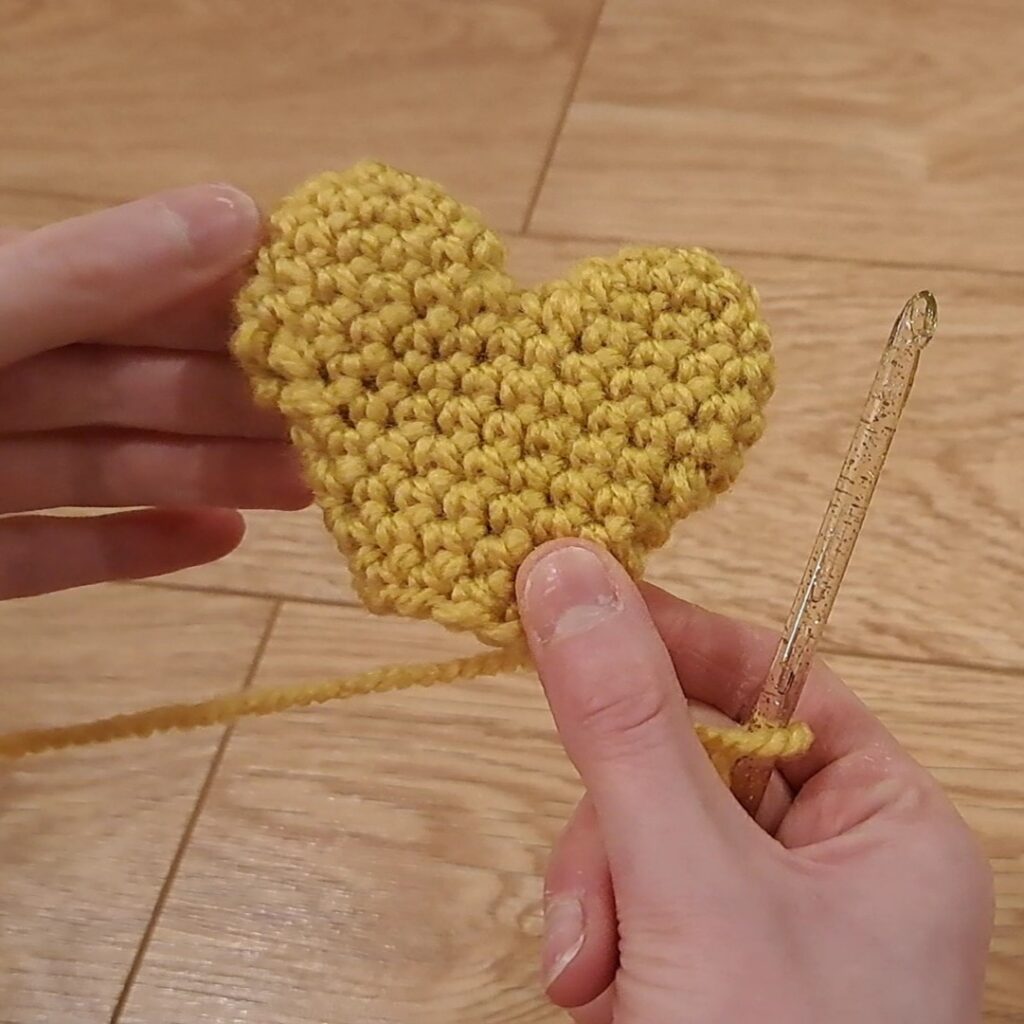
Here’s the top of our heart!
If you have any gaps where you joined the pieces, you can fix this when you weave in your ends.
Sc26 around
Now we’re going to start reducing, to taper the heart into the bottom point.
We will place 2 decreases at each side of the heart.
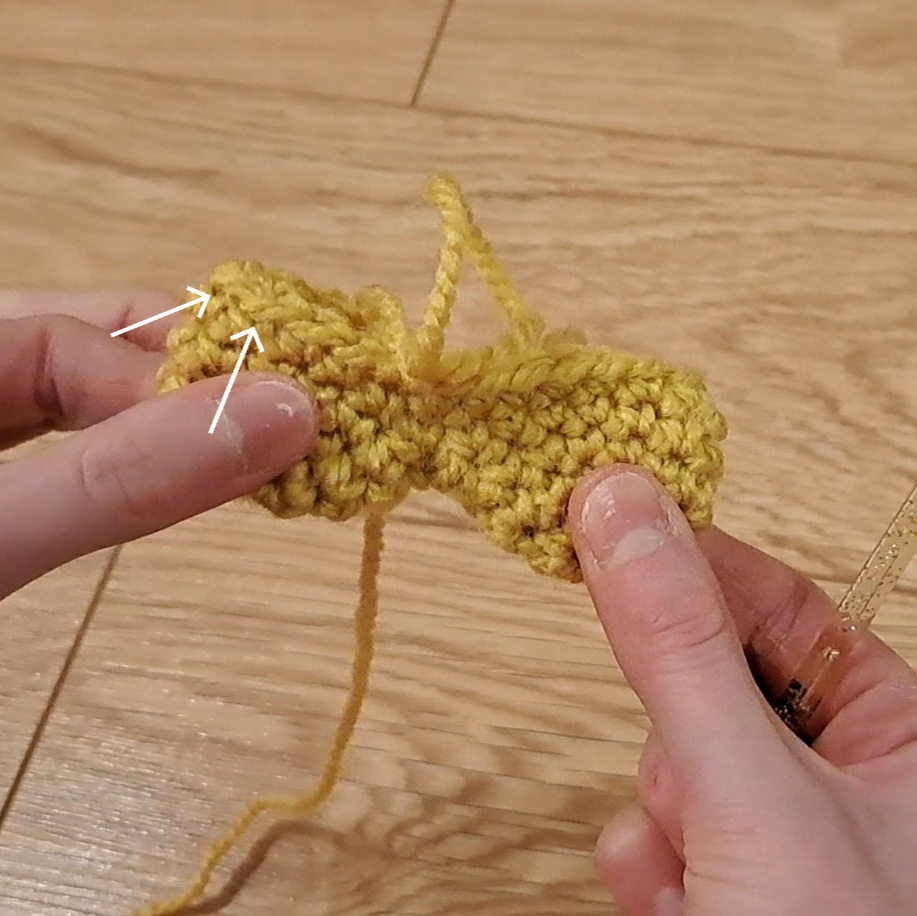
With your work folded flat, find the last 2 stitches at the edge – this is where we will place the first decrease.
Sc up to this point (you can mark the stitches with a stitch marker or scrap of yarn if you need), decrease
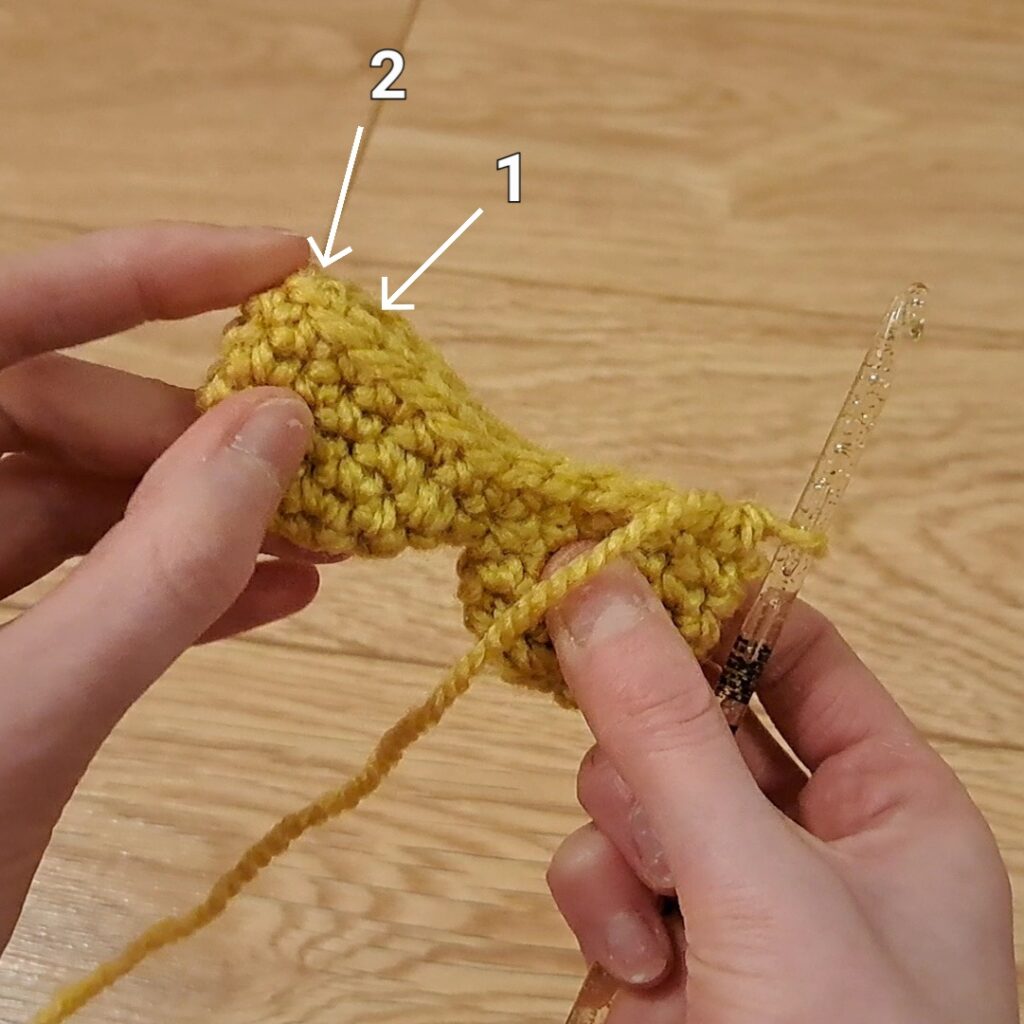
Decrease again into the next 2 stitches (these will be the first 2 stitches of the opposite side)
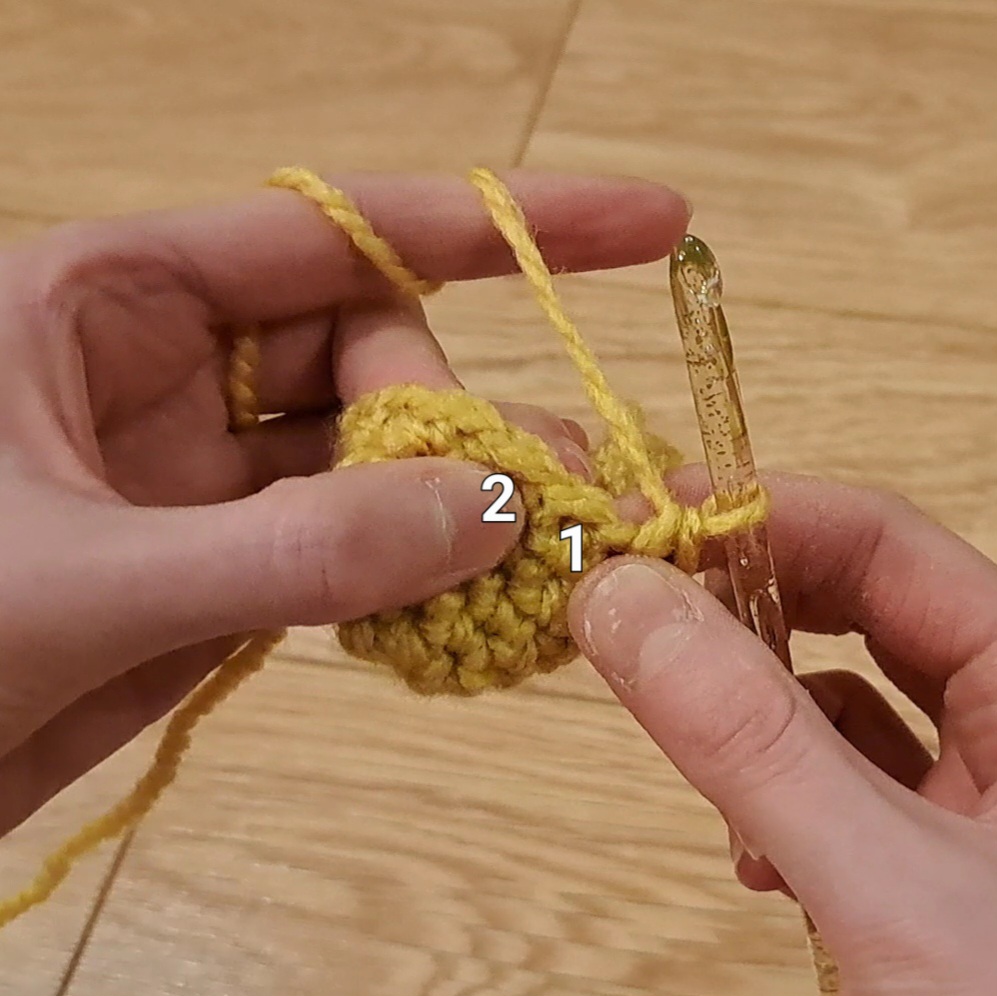
Repeat this again on the other side, the arrows and numbers below indicate where you should place your next decrease.
Do one more round like this (4 more decreases – 2 at each edge)
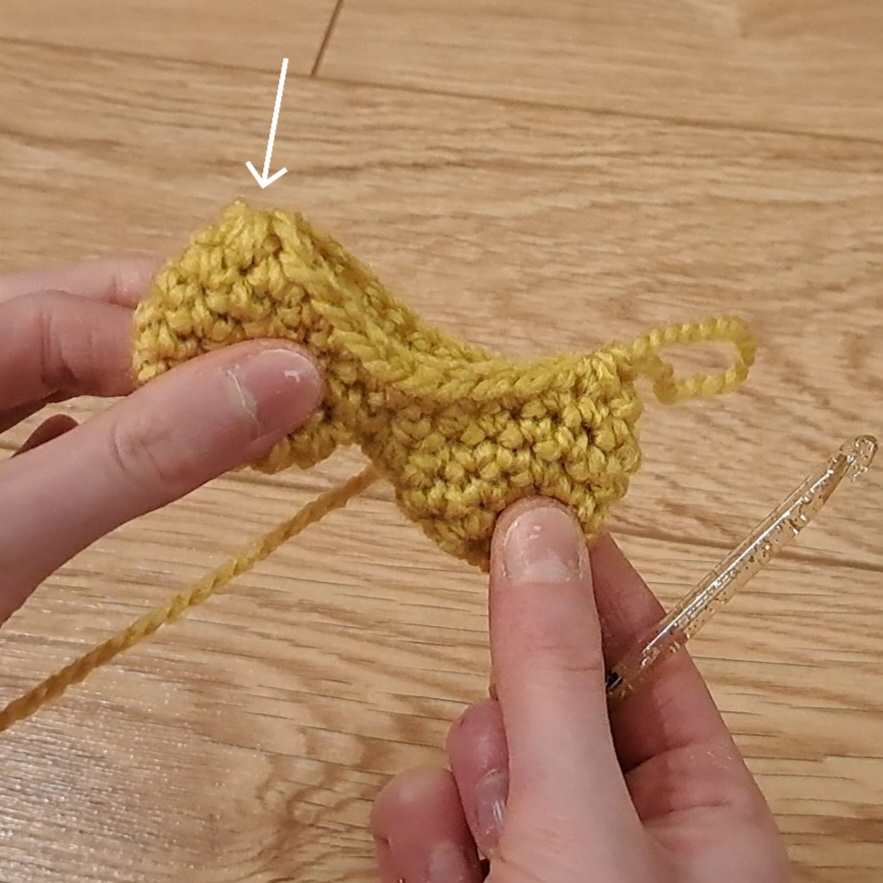
Now we will repeat this round again, but we will just be placing 1 decrease at each side this time.
You can see that the heart is starting to shape up nicely!
You will most likely be placing your next decrease into the 2 decreases from the previous round.
Repeat this round (with just 1 decrease at each edge) until you have 9 stitches left.
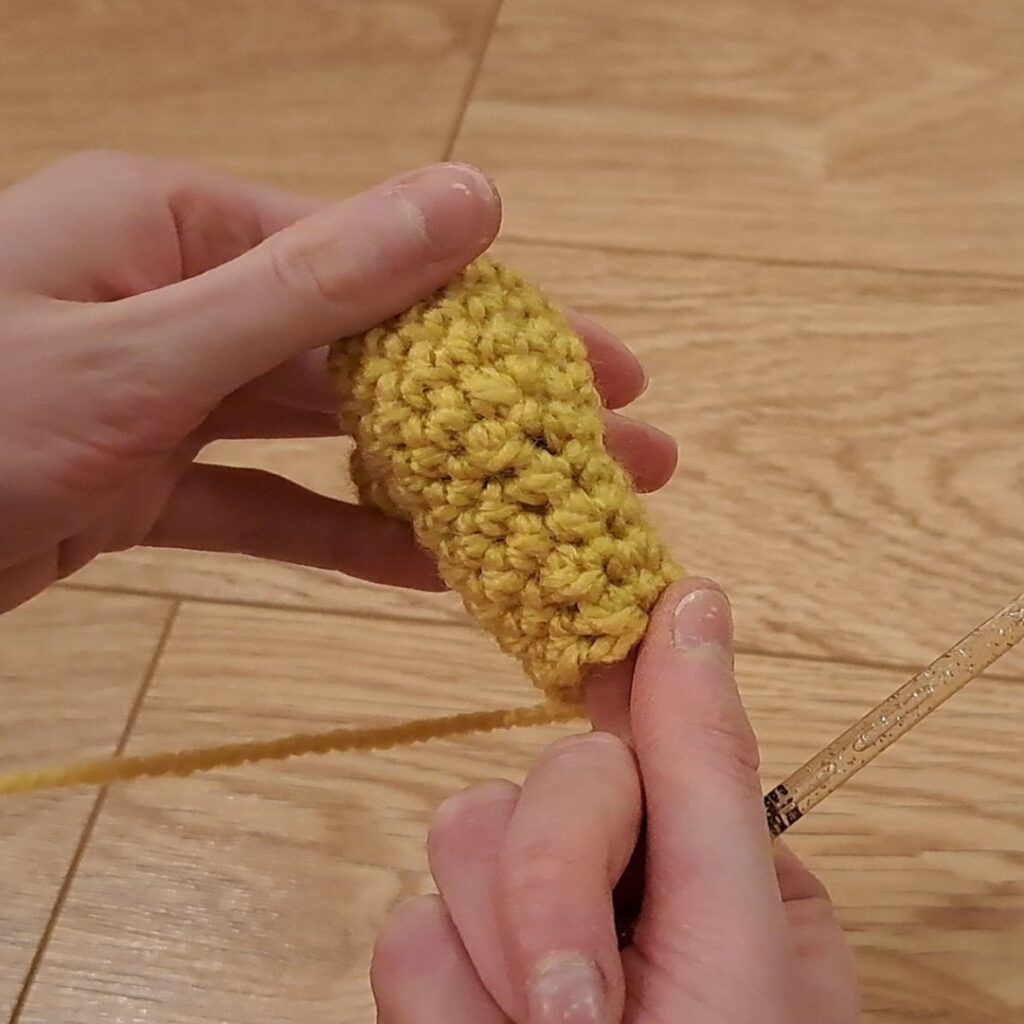
This is what your heart should look like so far.
You can see your decreases here up the edge.
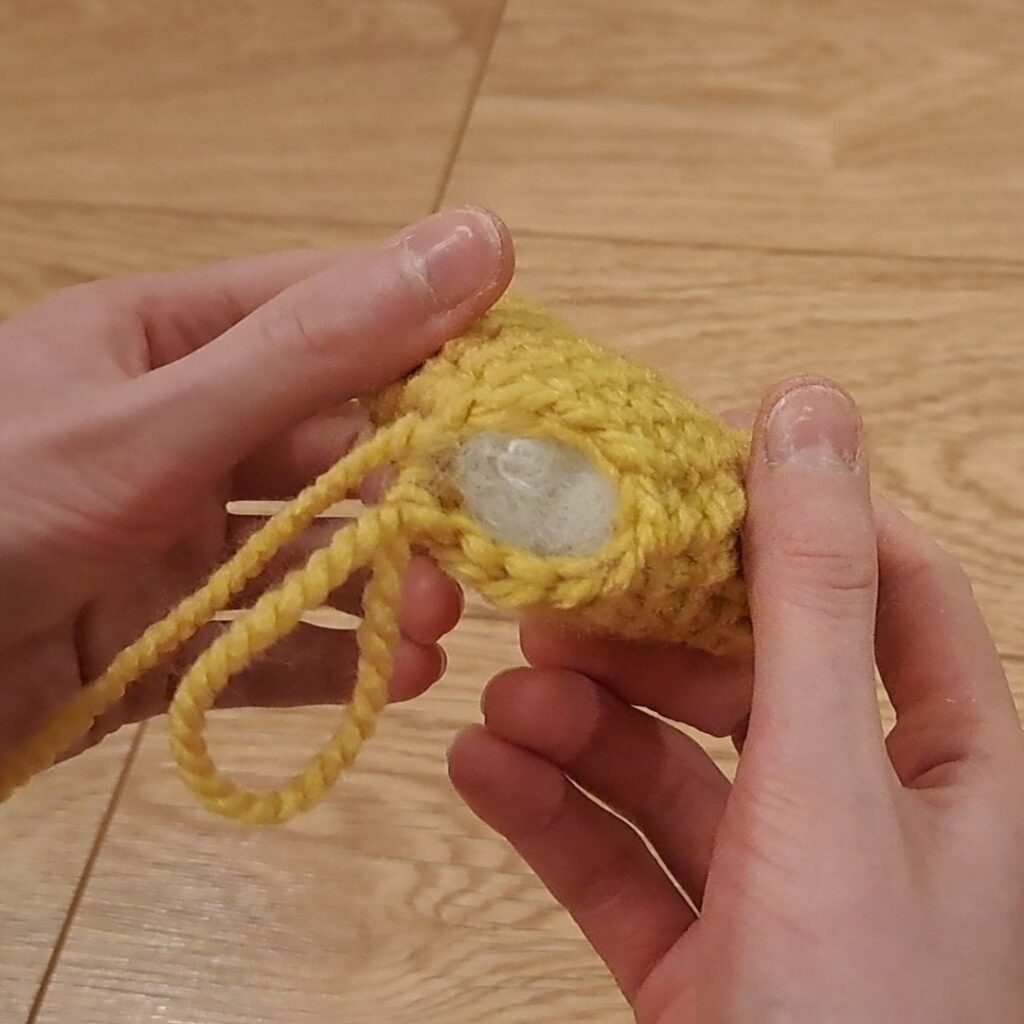
Stuff your crochet heart at this point. Make sure you push your stuffing right into the top 2 sections that we started with – you can use your fingers or the end of a crochet hook to do this.
Feel free to get creative with your stuffing – some people even use newspaper! You can also use yarn scraps, which helps reduce your wastage.
I use synthetic fibre filling which is EN71 certified.
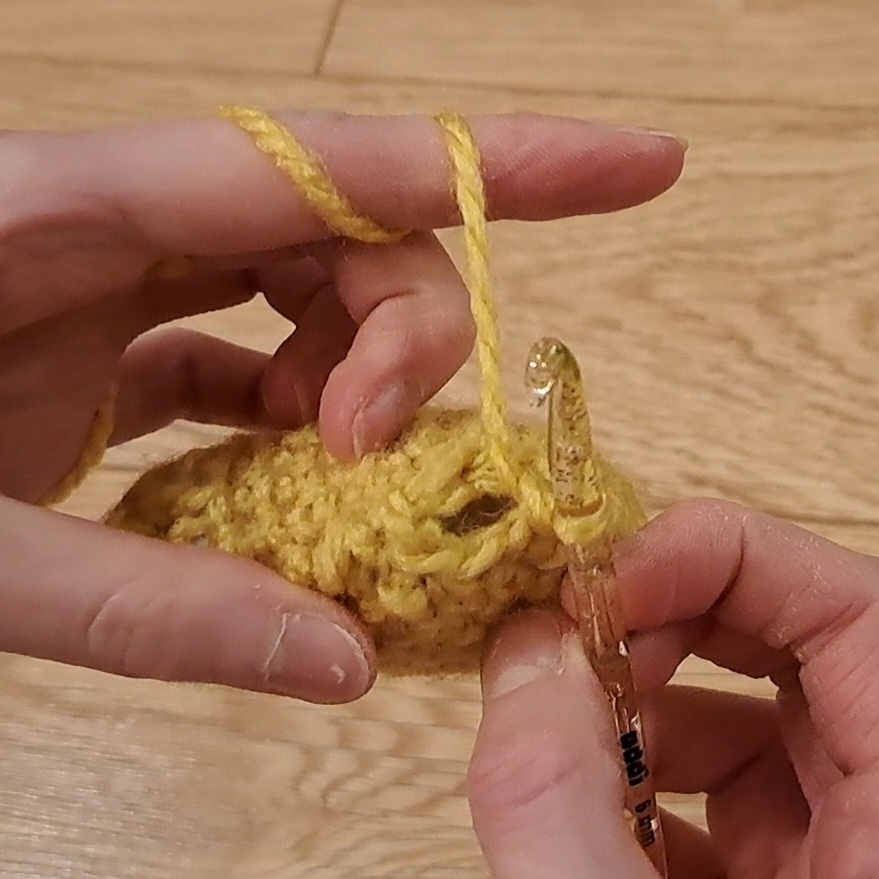
Next round:
(Sc, dec) x 3
You should be left with 6 stitches.
Final round:
Dec x 3
Cut your yarn, leaving a long tail for sewing
Fasten off
You should have 3 stitches remaining, now we’re ready to sew up the end.
Using a yarn needle, thread the yarn through each stitch like so.
Pull the hole closed, then you can tuck the excess yarn inside the heart.
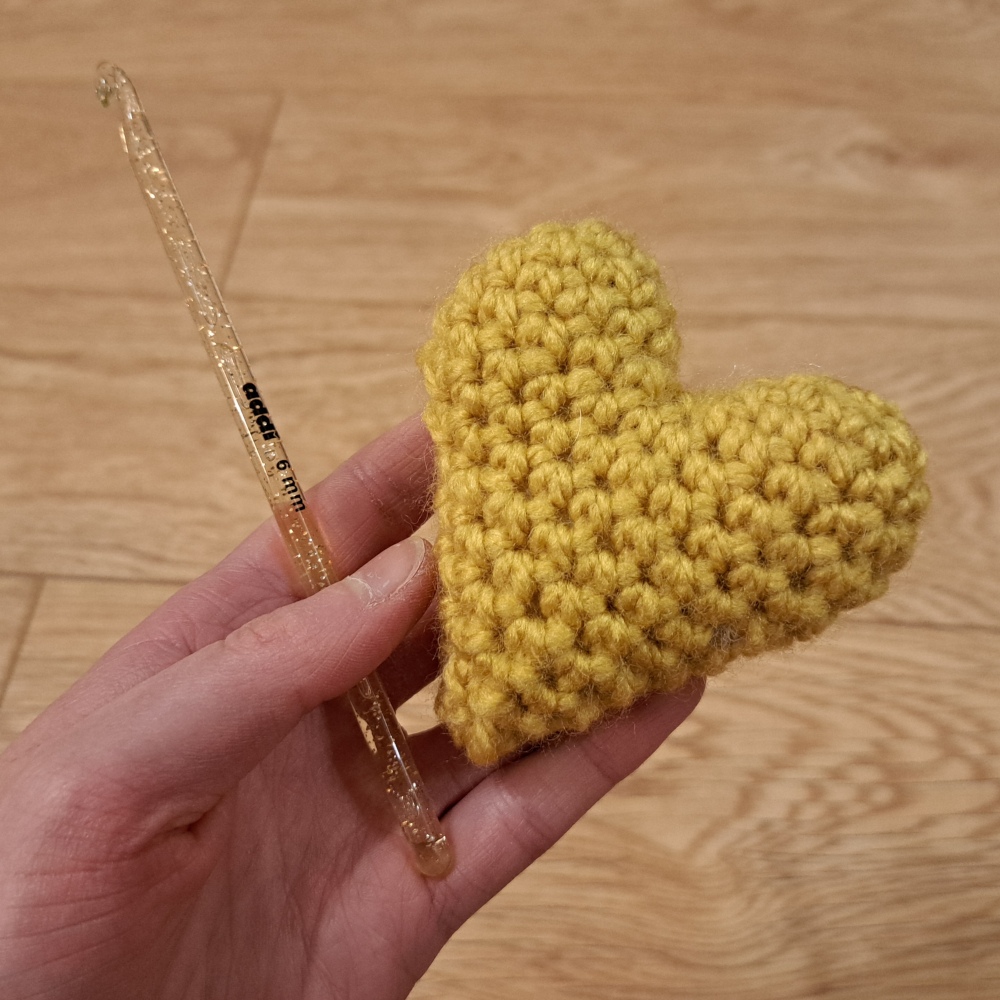
And here’s your finished crochet heart!
If you make a heart with this pattern, don’t forget to tag @yorkshireknitter in your Instagram pictures!
Here’s the video tutorial for the crochet heart pattern.