This crochet cat keyring pattern is a super quick craft project which is simple but effective!
If you would like a more in-depth tutorial, please refer to the video at the bottom of the page.
If you make one of these, be sure to tag @yorkshireknitter in your Instagram pictures! I’d love to see your creations!
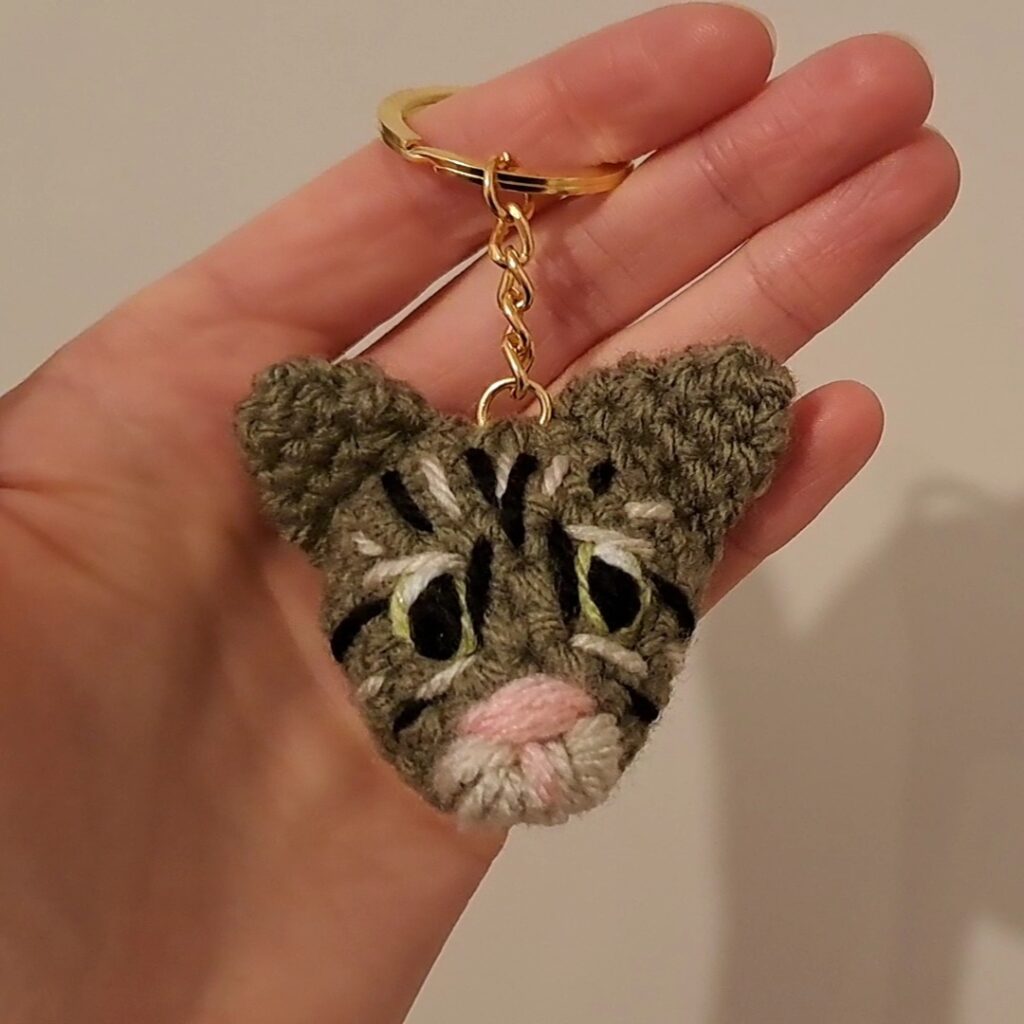
This is also how I make my custom pet portrait keyrings!
Materials
- DK yarn in a colour of your choosing
- 4mm crochet hook
- Stuffing
- A keyring – you can find these online or in your local craft store
- Scissors
- A yarn needle – these can also be found online or in craft stores
- Extra yarn for the features – you can also use embroidery thread if you like
- Stitch marker (optional)
Pattern starts - The Head
If there’s anything you’re not familiar with or need a reminder of, check out my crochet basics playlist!
Total stitches are marked in [square brackets]
Starting at the back of the head
1. Sc6 into a ring [6]
2. Inc x 6 [12]
3. (Sc, inc) x 6 [18]
4. (2sc, inc) x 6 [24]
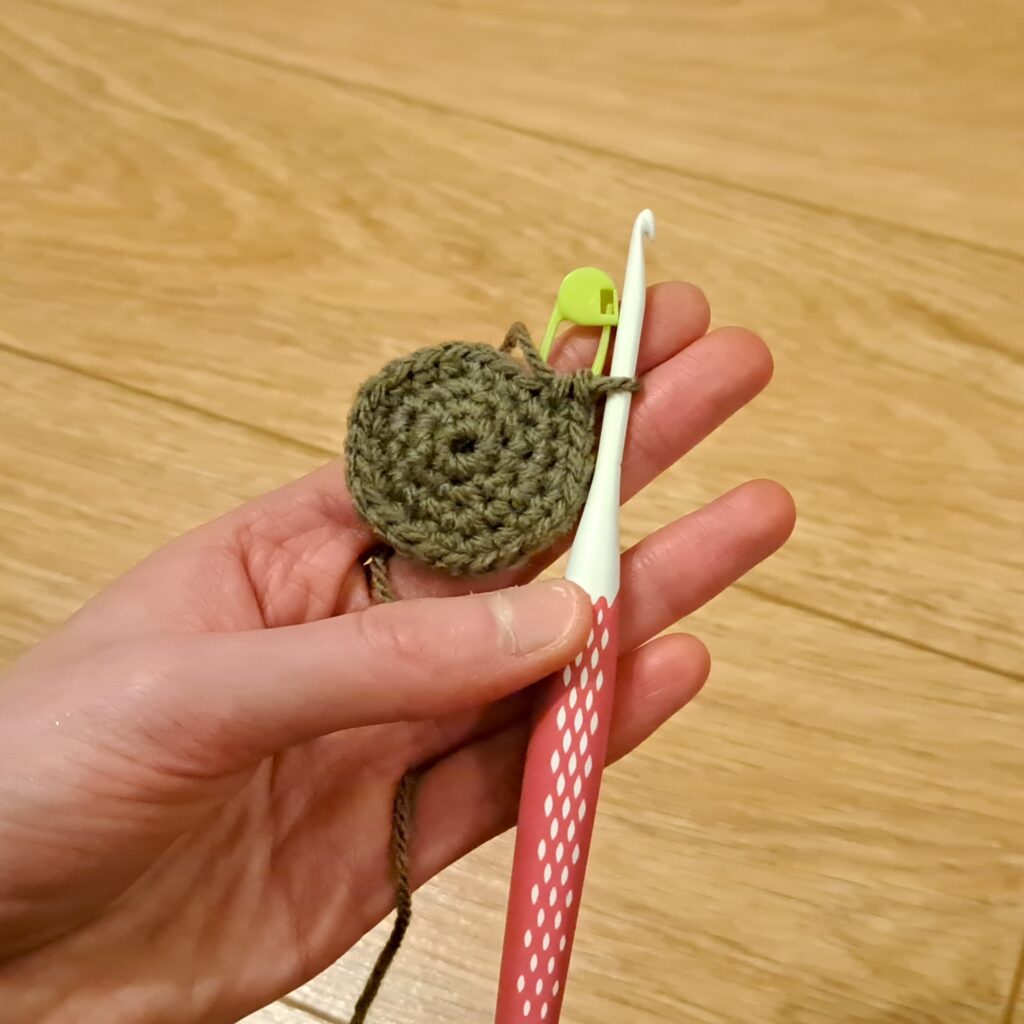
5 – 6. Sc around
Now, we’re going to start decreasing, this will form the ‘forehead’.
7. (2sc, dec) x 3, sc to end [21]
8. (Sc, dec) x 3, sc to end [18]
9. (Sc, dec) x6 [12]
10. Dec x 3, sc to end [9]
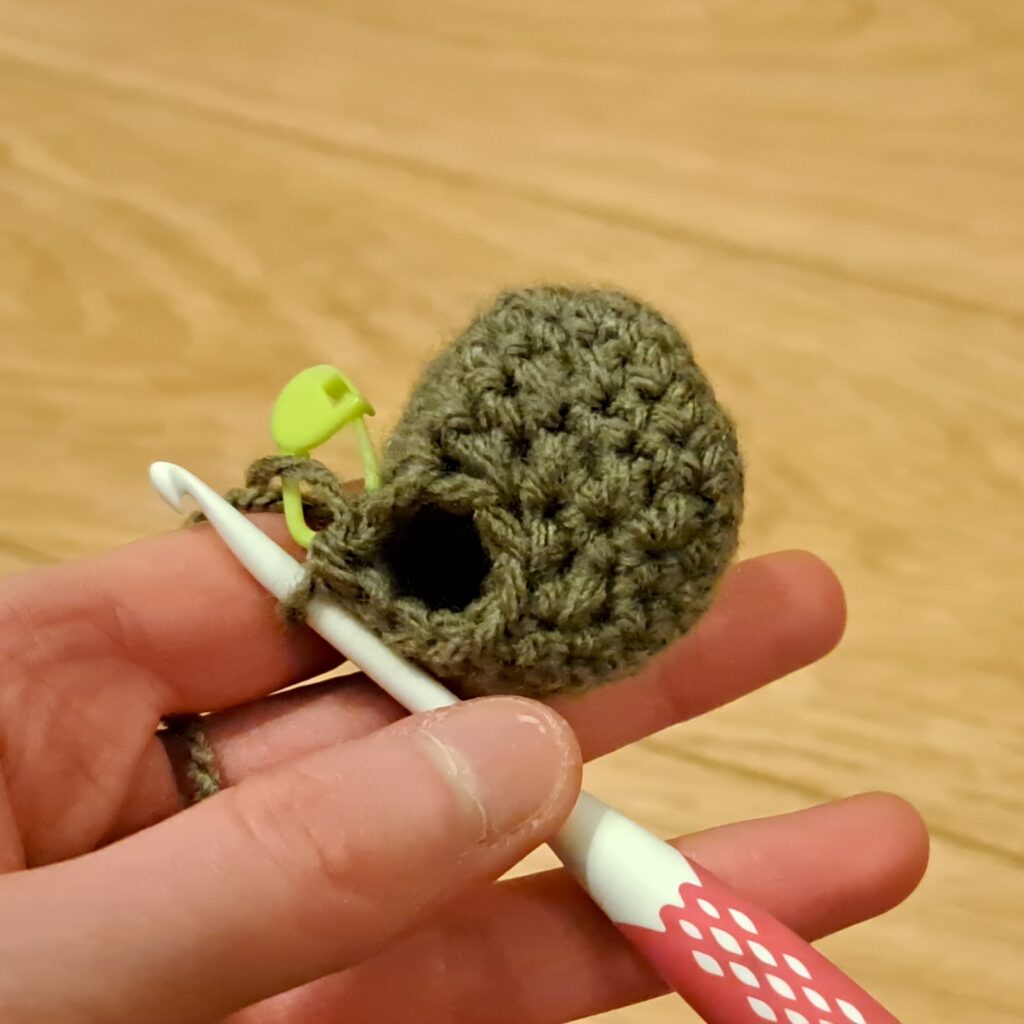
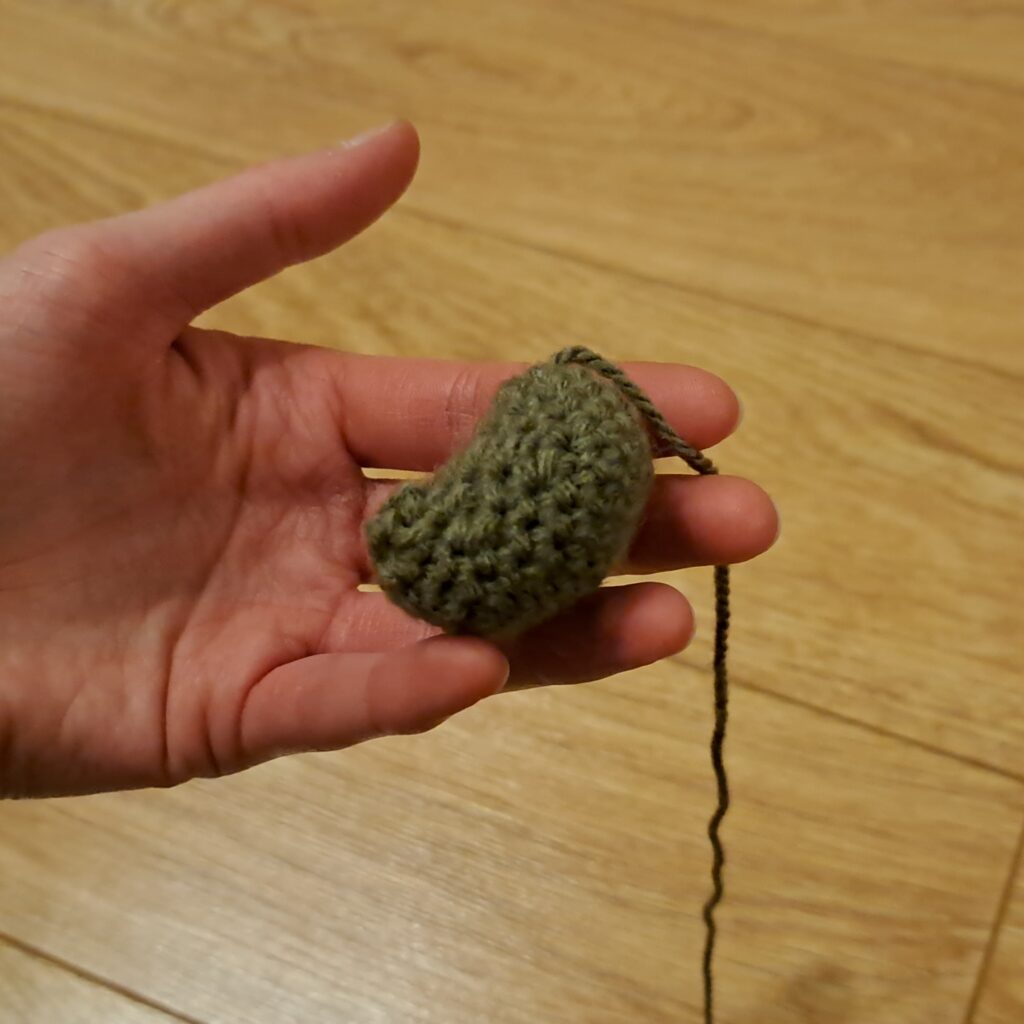
Stuff the head.
I’m using yarn scraps but you can use fibre, fabric scraps or even paper.
Use your finger or the end of your crochet hook to distribute the stuffing evenly.
Now, we’ll finish up by forming the muzzle.
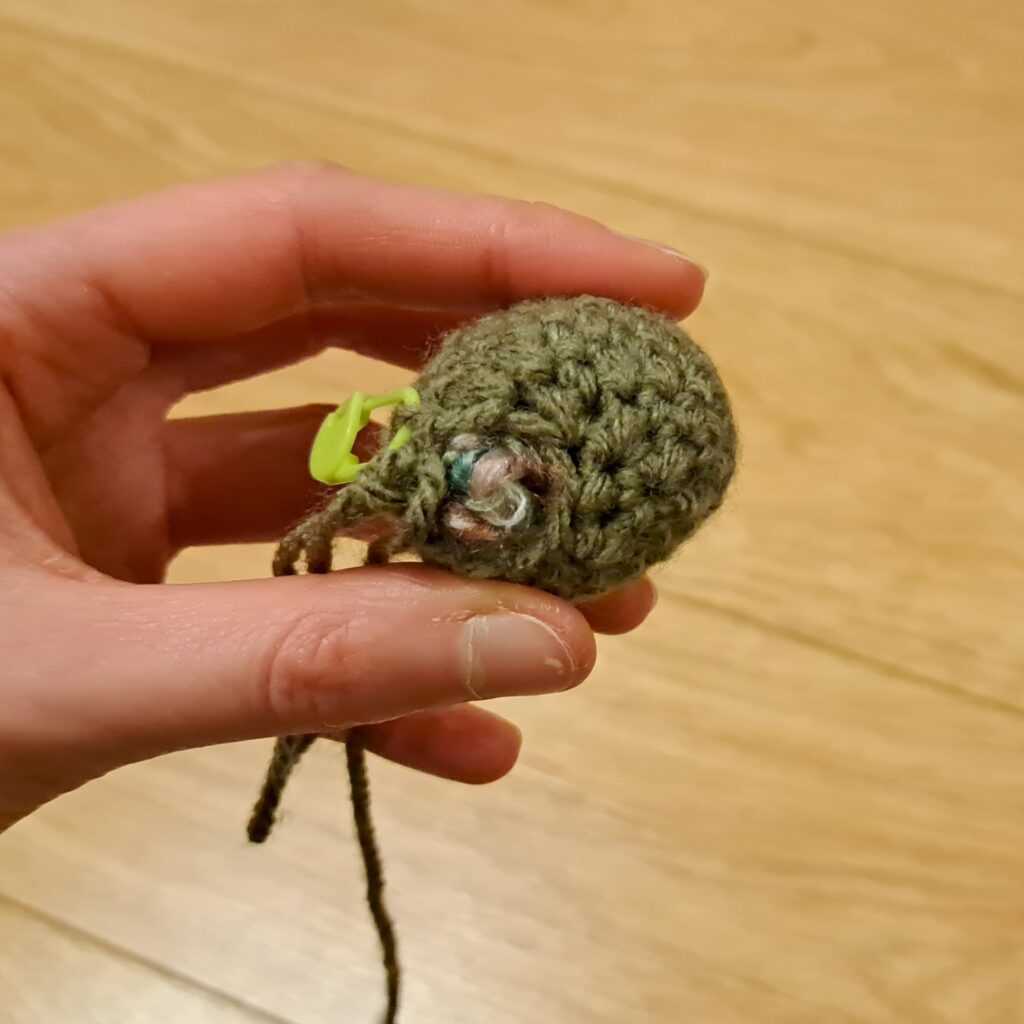
11. Sc 3, dec x 3 [6]
Cut the yarn, leaving a long tail for sewing.
Sew up the hole, don’t cut the excess – we’ll use this to attach the keyring later.
The Ears (make 2)
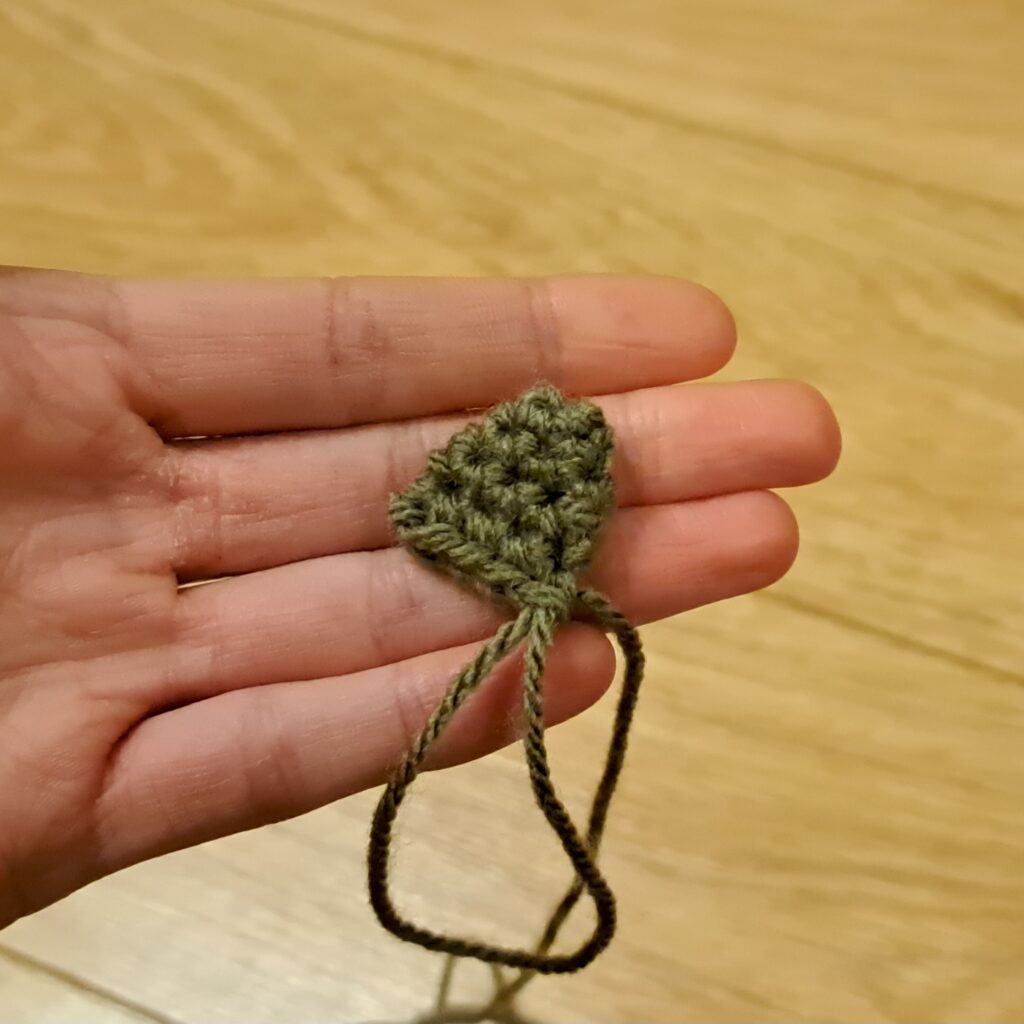
Starting at the tip of the ear.
1. Sc4 into a ring [4]
2. (Sc, inc) x 2 [6]
3. (2sc, inc) x 2 [8]
4. Sc around
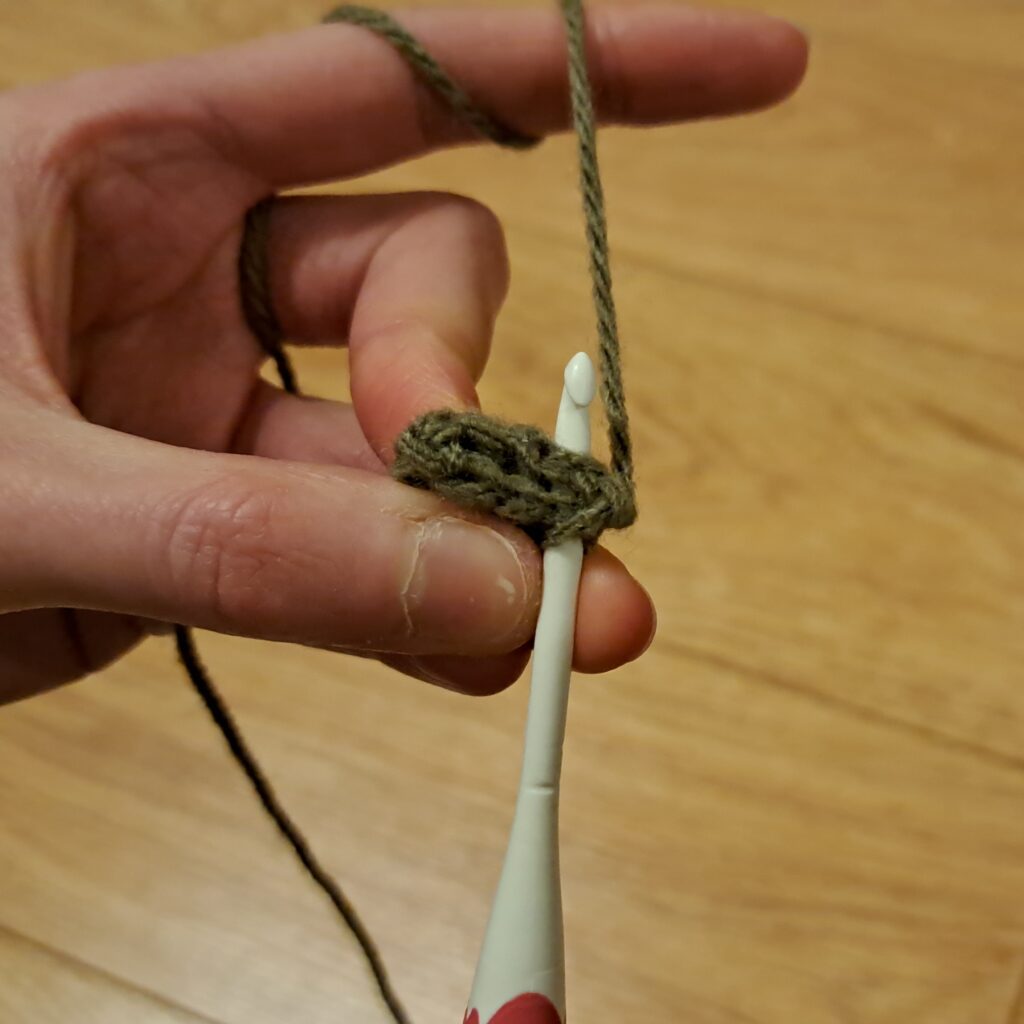
Then, fold the piece flat. We’re going to close up the opening…
Put your hook through both sides of the opening and single crochet to close the bottom of the ear:
Yarn over, pull through both sides of the opening, yarn over again and pull through both loops on your hook.
Repeat this 3 more times or until the opening is fully closed flat.
Assembly
Place the first ear at the back of the head, sew along the bottom edge. Then sew along the front too to secure it. Repeat with the second ear.
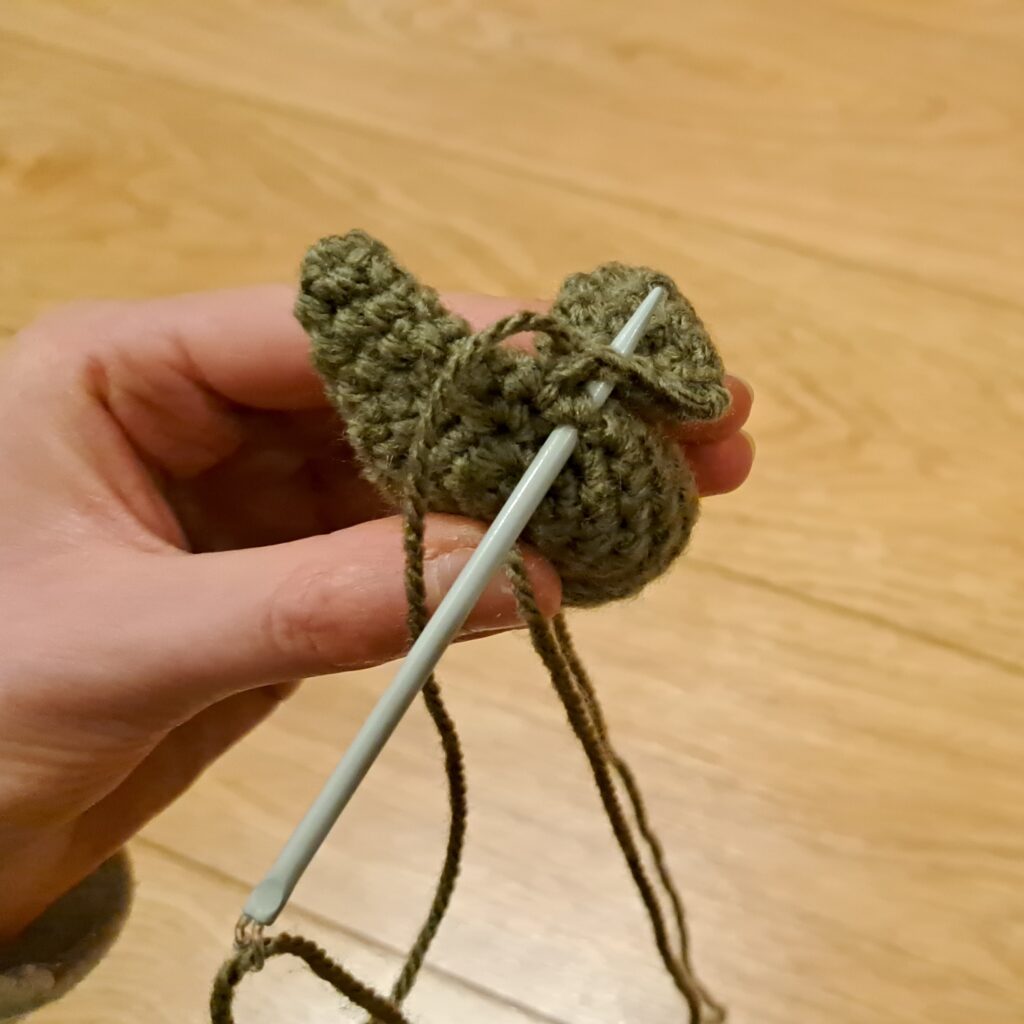
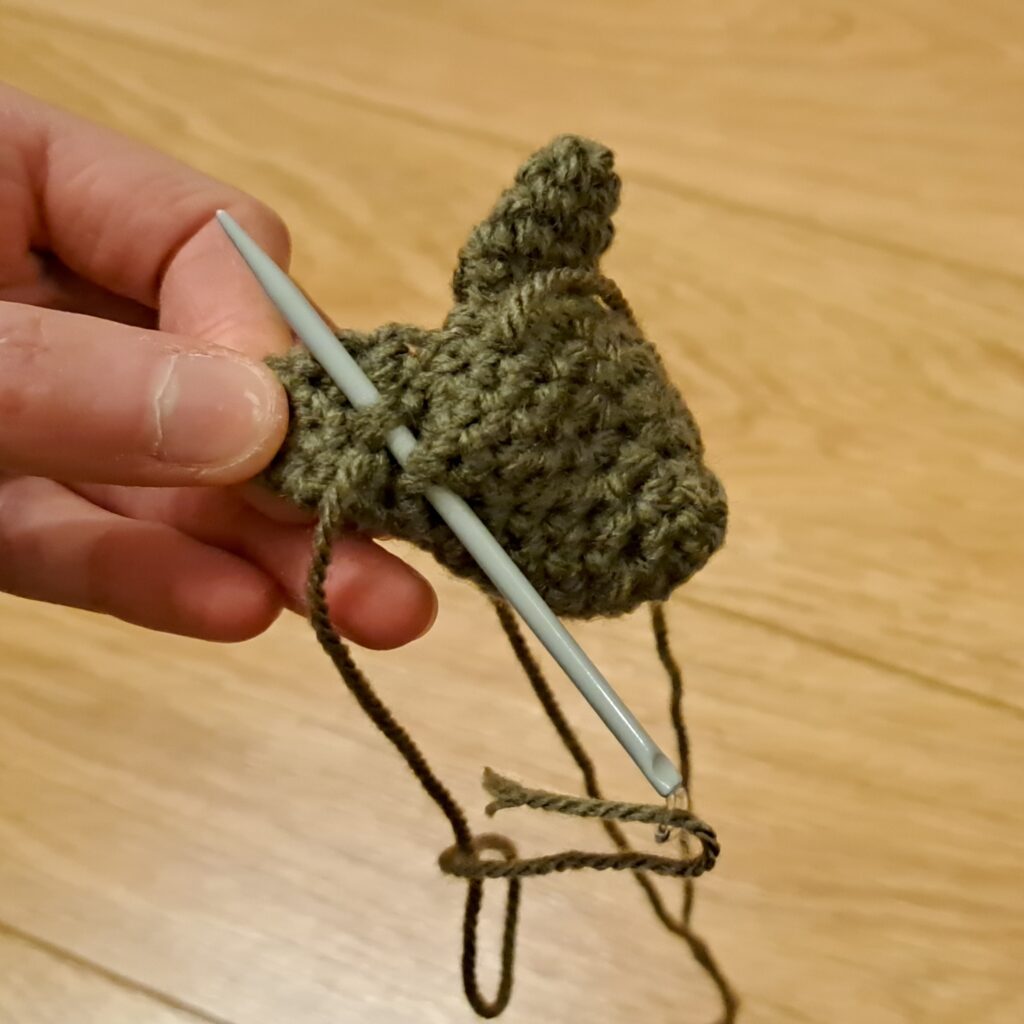
Tie off the ends and cut the excess yarn.
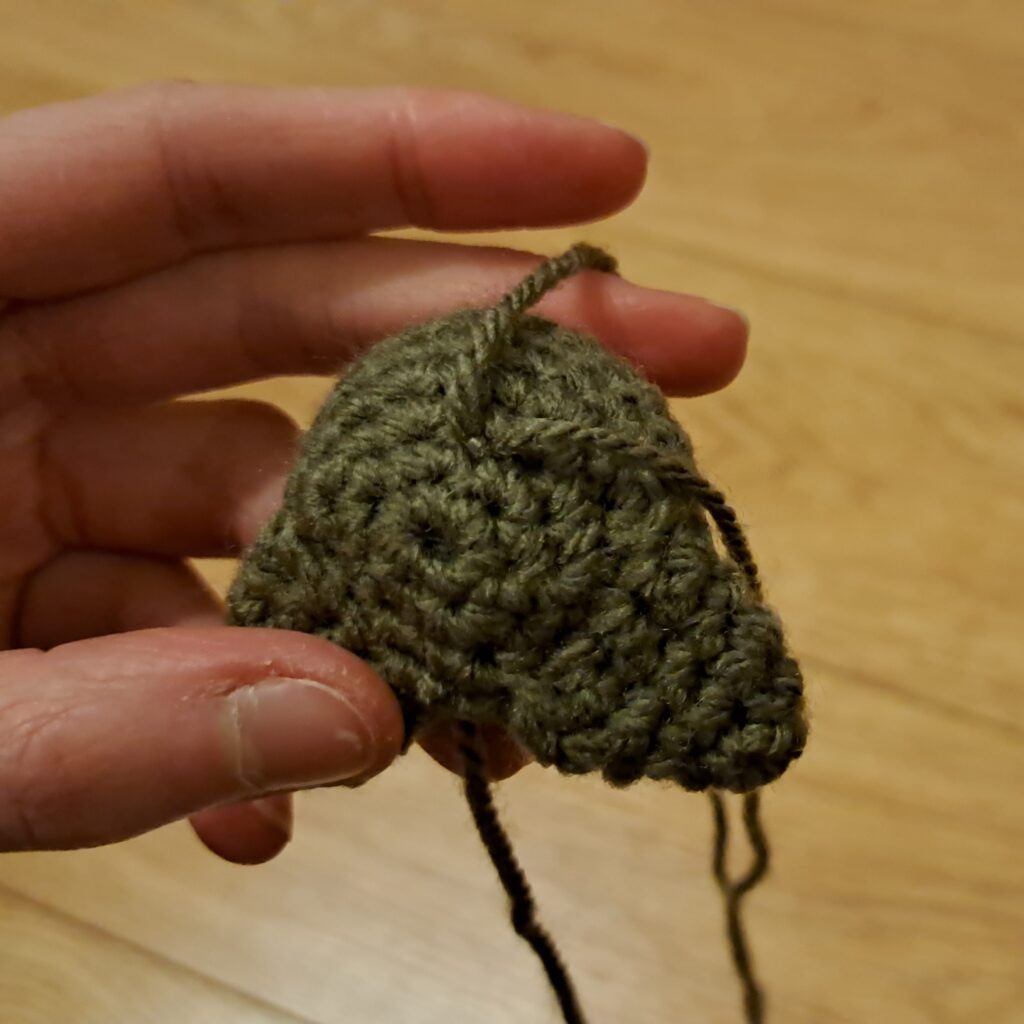
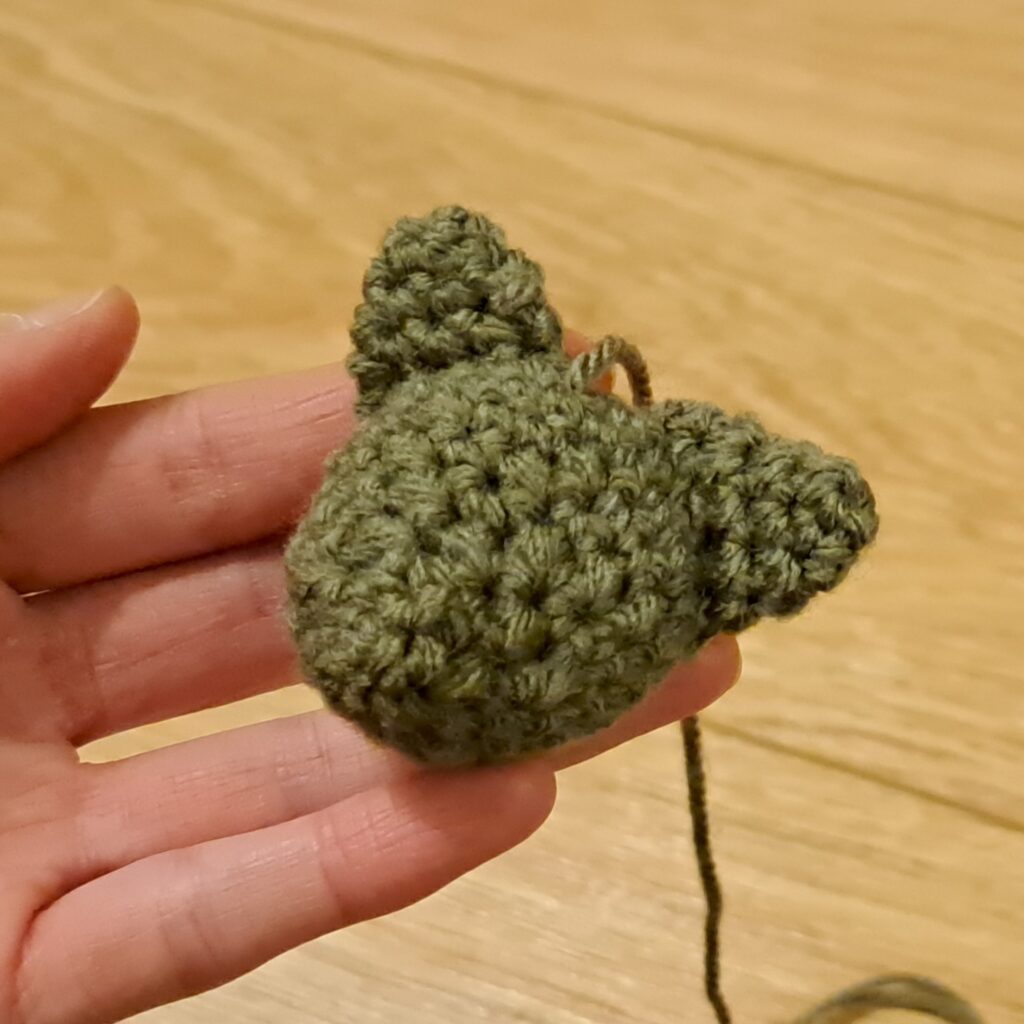
Attach the keyring to the top of the head, using the yarn we saved earlier from sewing up the head.
Make multiple stitchesat different angles to make sure the join is stable.
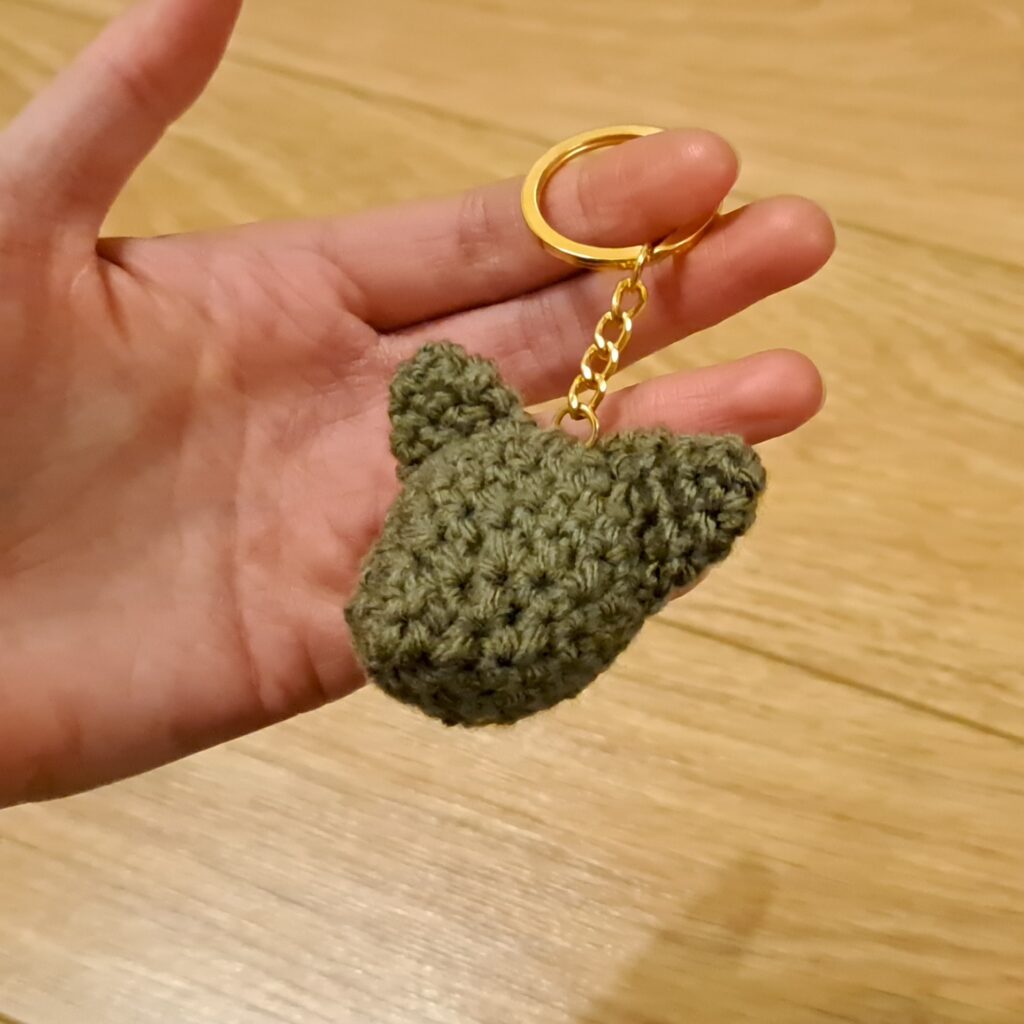
Embroidering the features
Feel free to get creative and make the features any size and shape that you like! Below is just an outline of how I like to do it. You can also place the features where you think looks best on the cat’s face.
When embroidering, I suggest tying the ends of your yarn/embroidery thread off at the back of the head. then you can cut the excess and hide the knot inside your work (I gently push them in with the point of my scissors.
For the nose, make some horizontal stitches across the muzzle.
Then make one vertical stitch from the middle of the bottom.
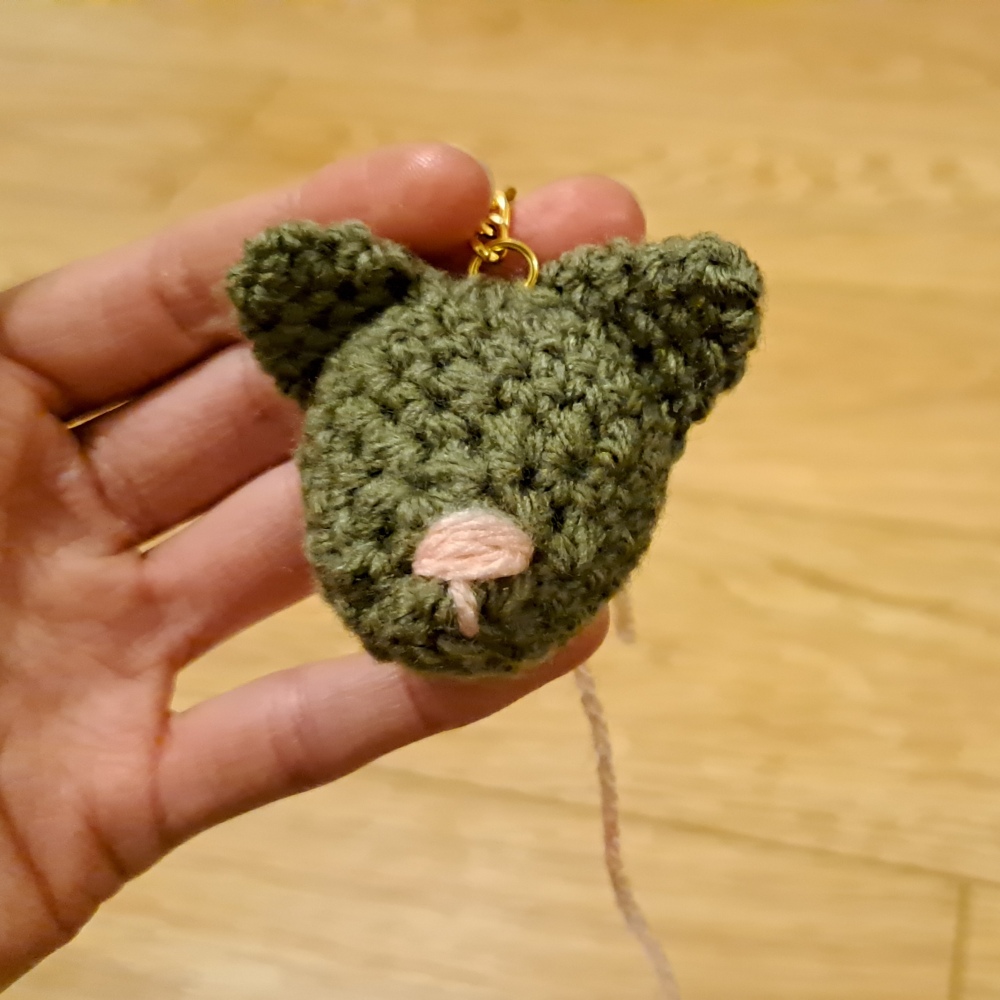
For the eyes, you’re welcome to use some small safety eyes if you like.
I start with black yarn and make about 3 stitches across 2 rounds of the head and then repeat at the other side of the nose.
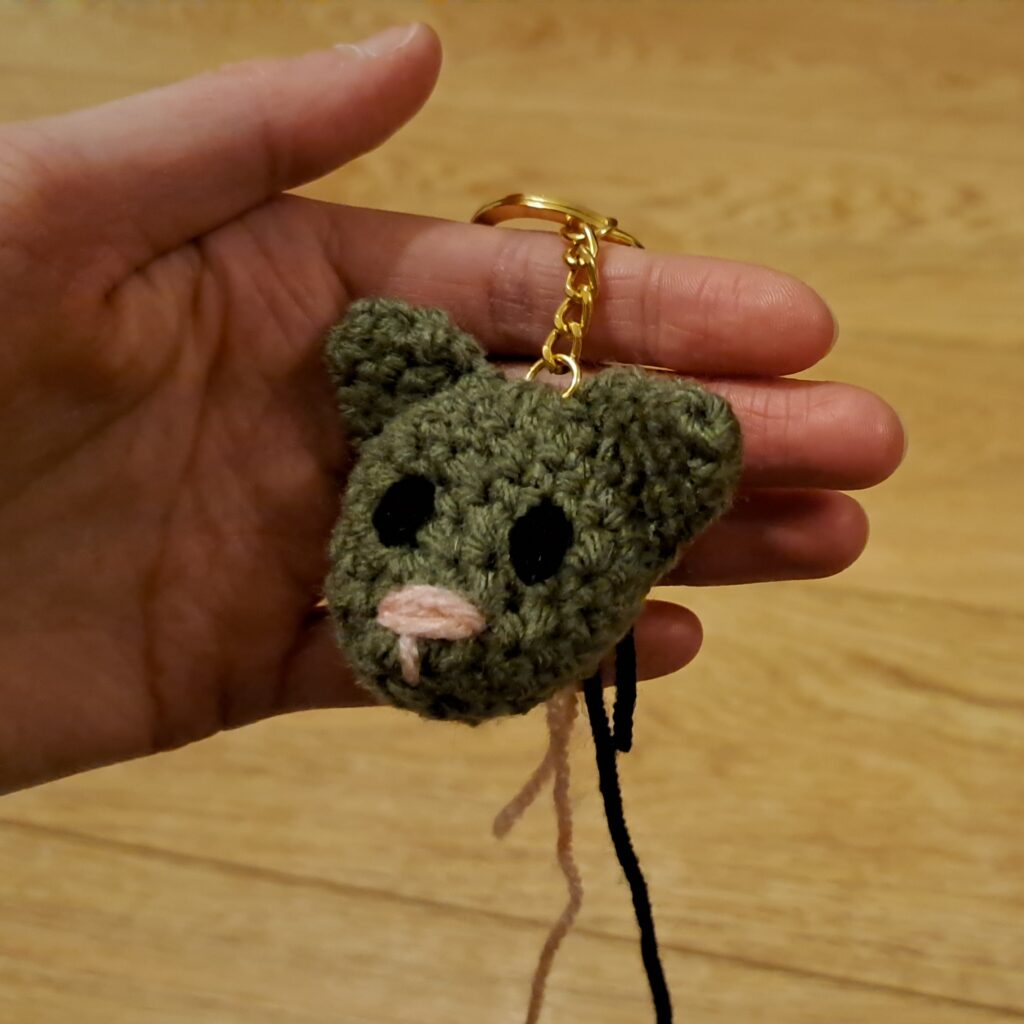
Then, I work my chosen iris colour in the exact same place.
When I pull the stitch tight, I guide the yarn with my finger so that it sits beside the black.
I place one stitch on each side of the black.
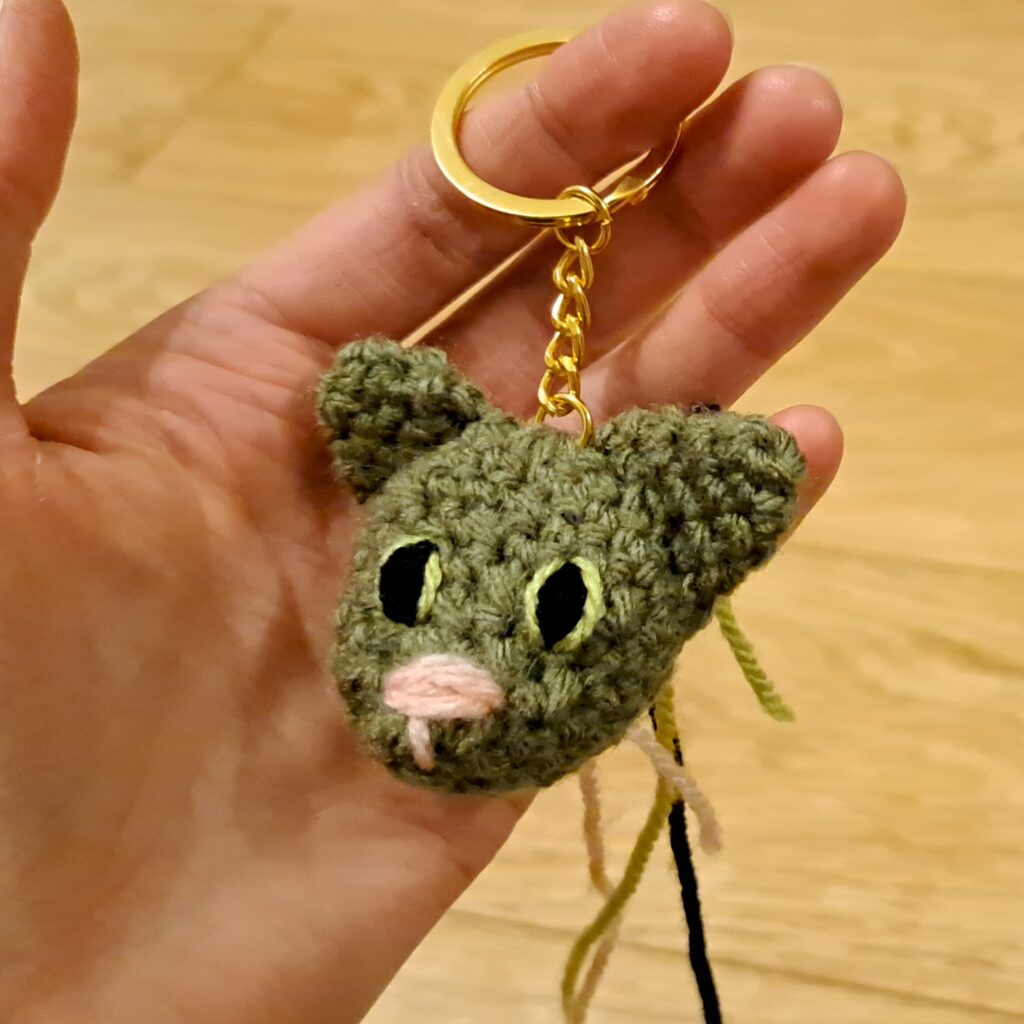
Then I add highlights to the eyes by stitching some white between the black and the outer thread of the iris colour.
I always find that adding the highlights really helps to bring the eyes to life and brings some character to the face.
If needed, you can use the point of your needle to readjust any of the stitches.
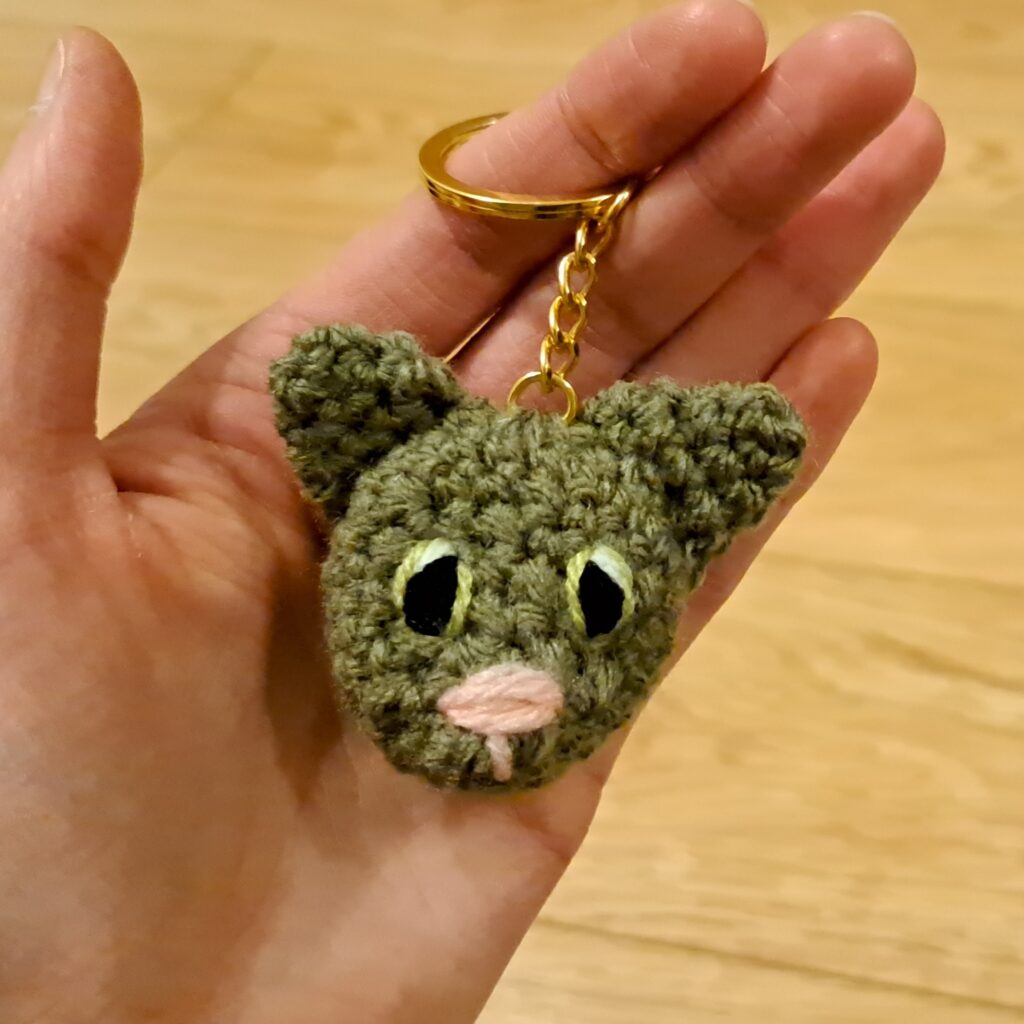
After that, you can add any extra details you fancy or leave it as is!

And there you have it! A crochet cat keyring that you can make in less than an hour, with basic stitches and an adorable final product!
If you enjoyed this quick and easy pattern, check out my crochet heart pattern!
If you’d like to try some larger projects, check out the patterns and craft kits in my shop.

Love this pattern
Love this pattern