I did some experimenting recently and it was so fun! I have been wanting to try out dyeing my own yarn for so long, especially with natural colourants! So, I decided to combine two of my favourite things… yarn and tea!
This was such an interesting experience, so I wanted to share it with you!
Please note, this is by no means a tutorial – just a little stumble through my journey. There are tonnes of super helpful blog posts and videos about dyeing yarn, if you are interested!
Another reason I chose to start off with tea as my dye, is because it contains tannins. This means that I didn’t need to use any ‘mordant’ in order for the yarn to properly absorb the colour and fix it in place.

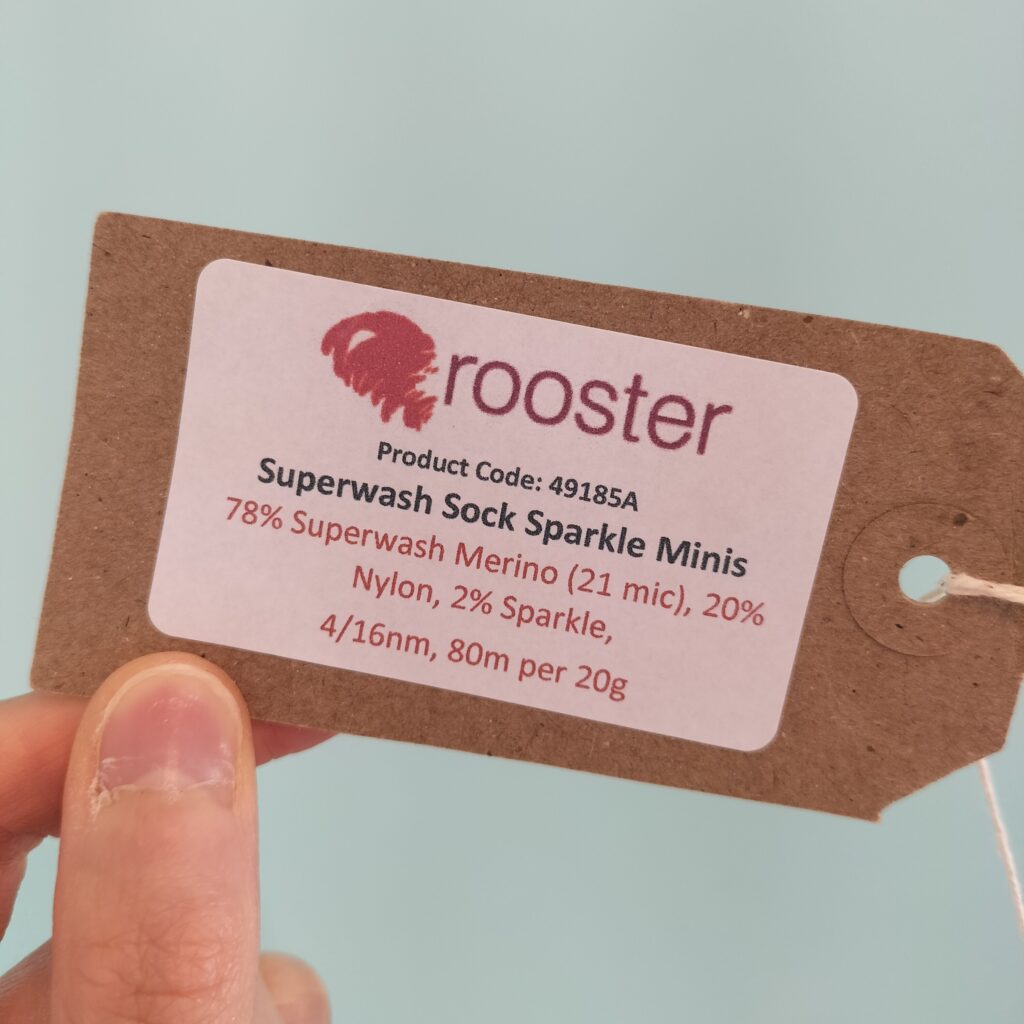
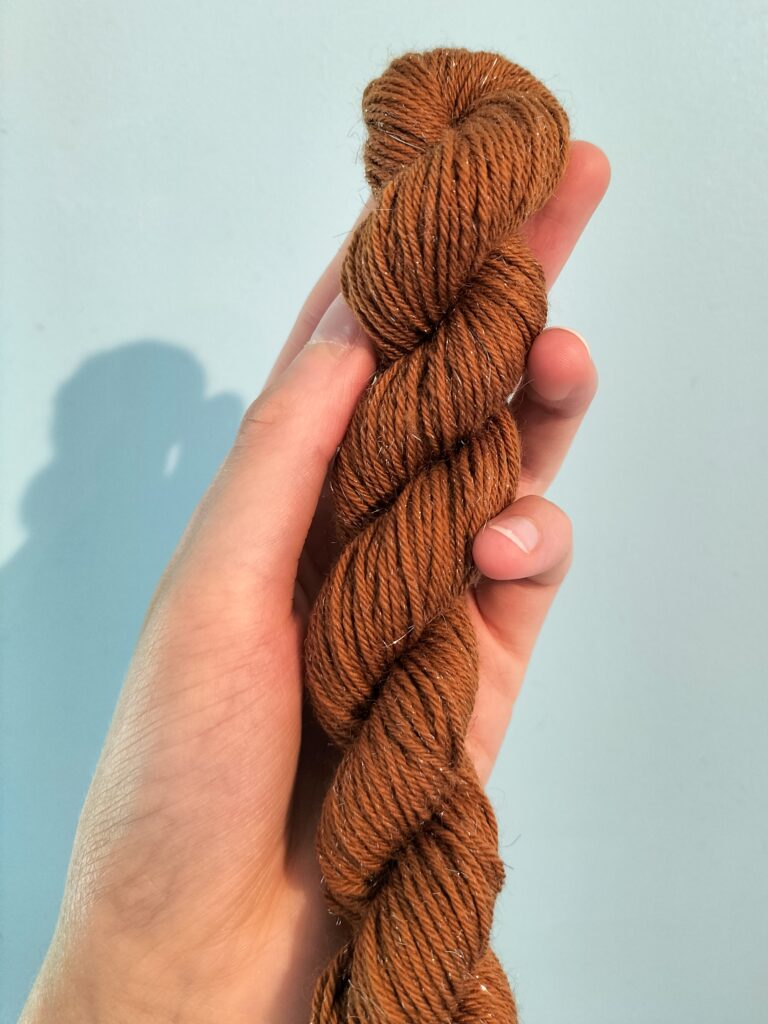
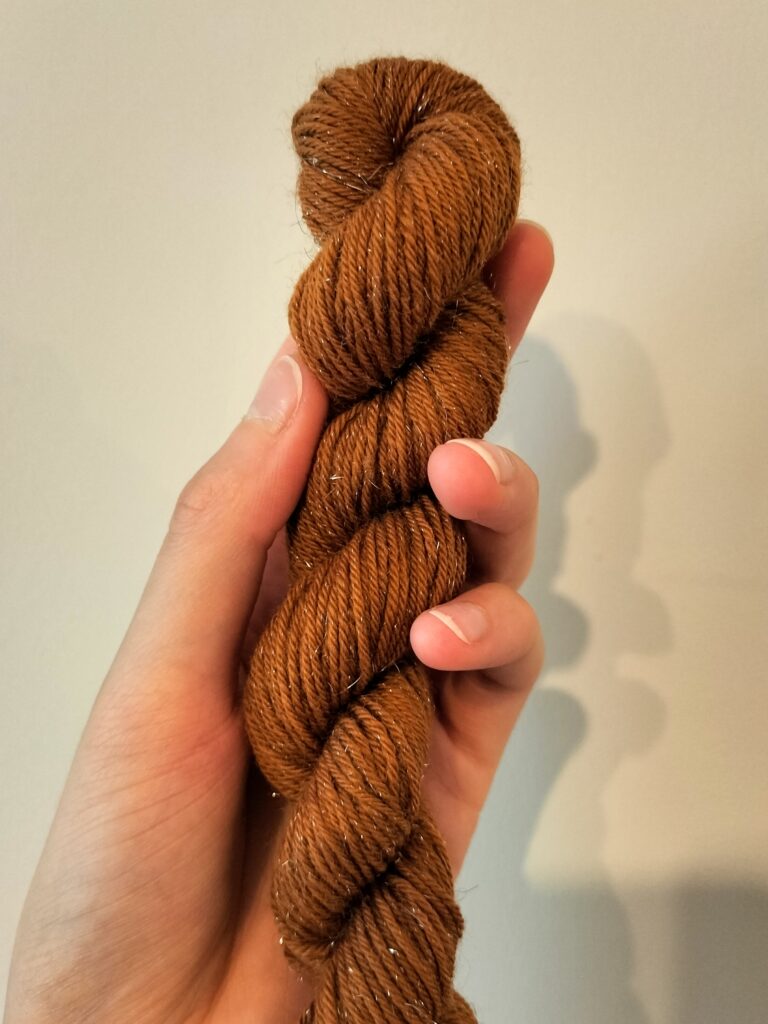
I’m using this beautiful undyed 4-ply by Rooster. I got this in a bundle with 4 other mini undyed skeins from Laughing Hens and I absolutely love the silver sparkly fibres generously sprinkled throughout – the camera really does not do it justice in these photos! If you are interested in this yarn, you can find it through my affiliate link:
https://www.laughinghens.com/#YorkshireKnitter
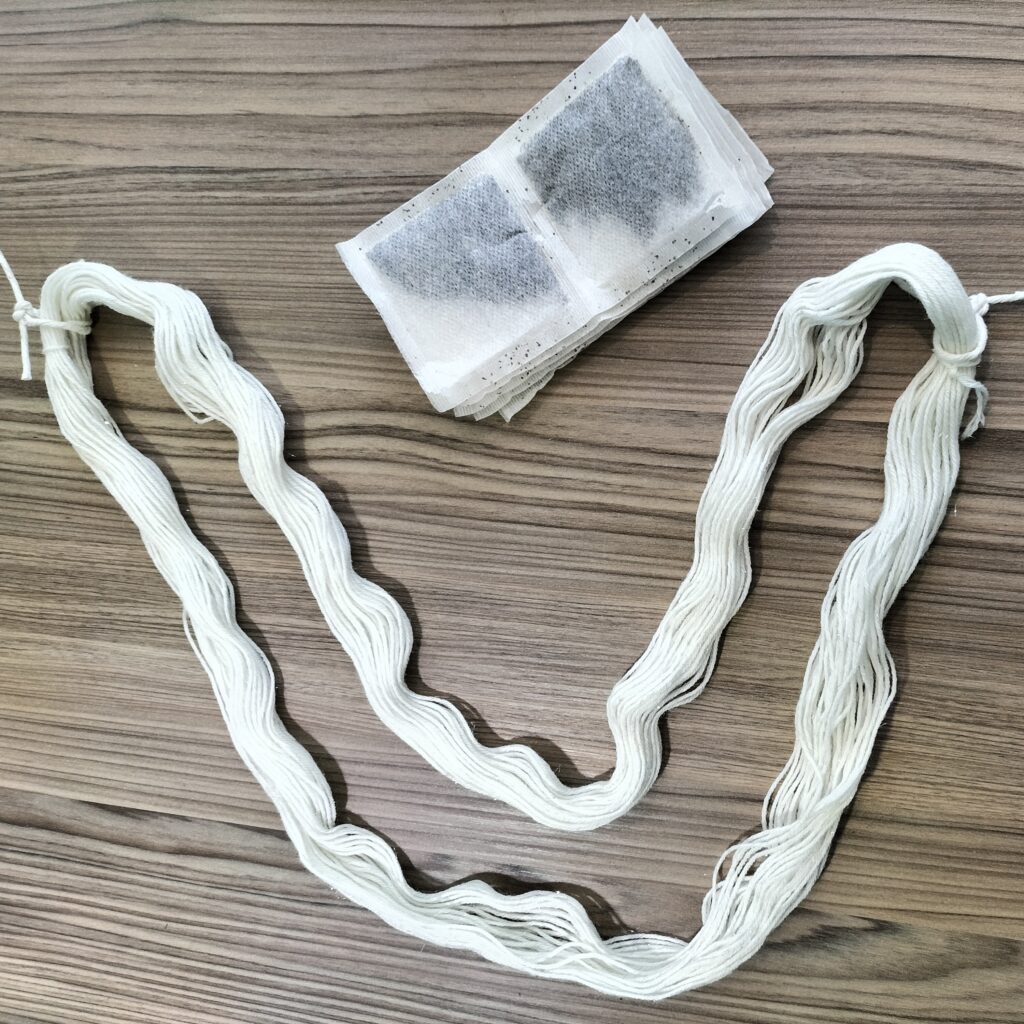
I started off by unravelling the skein and securing it at two ends with some string, so it doesn’t get tangled.
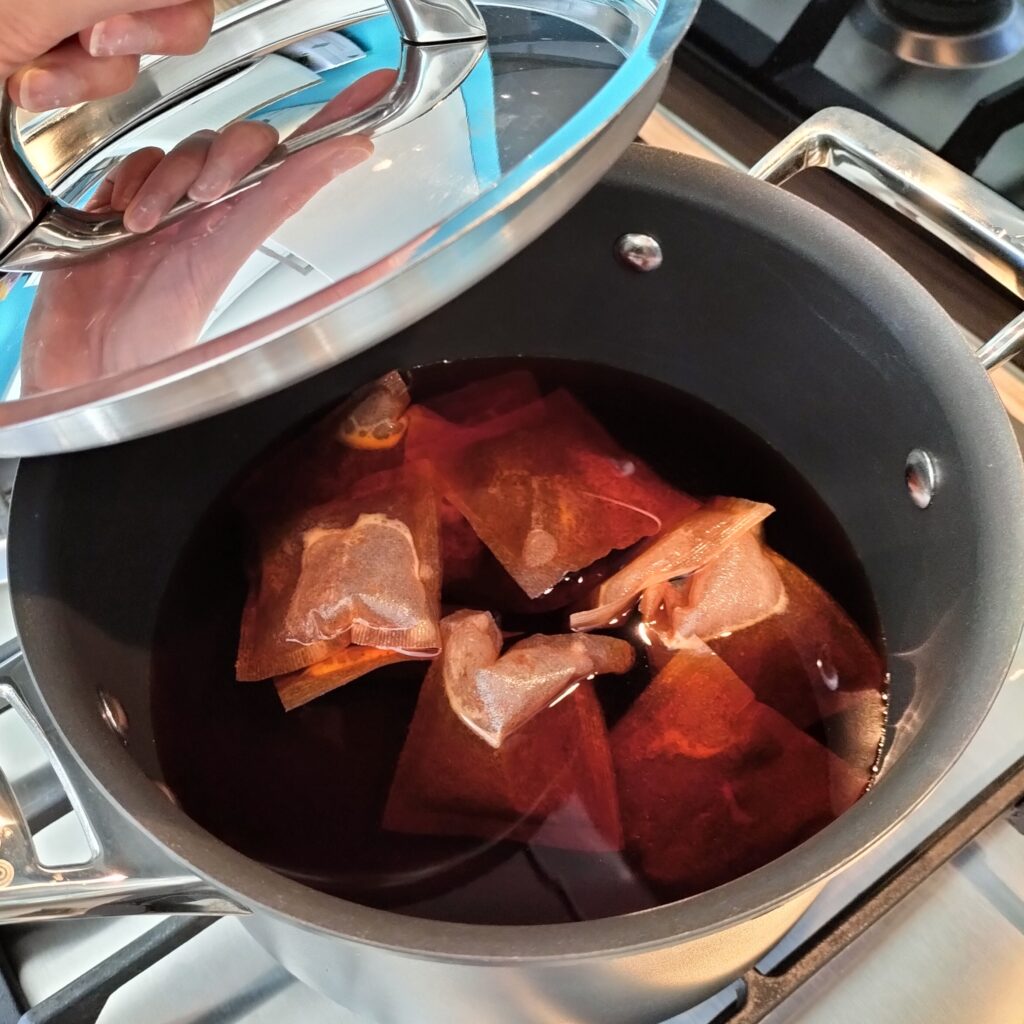
I put my yarn in some lukewarm water to soak, while I brewed ten teabags over heat on the stove.
Once I thought there looked to be enough colour drawn out of the tea, I took it off the heat and let it cool down. I read somewhere that the yarn shouldn’t go into boiling water, or it could become temperature shocked.
Throughout this experiment, I wasn’t very exact on timings and honestly just eyeballed it, this part of the process was a little bit less than an hour I would say.

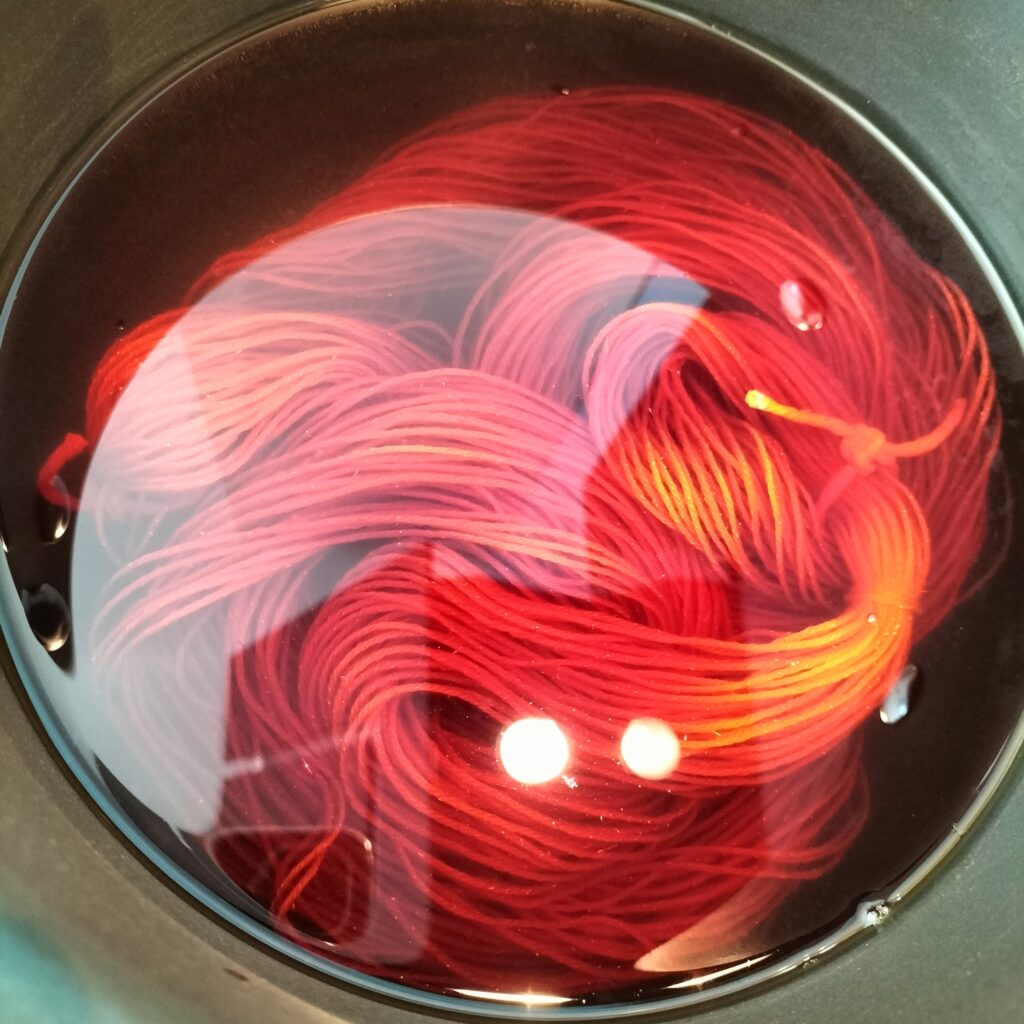
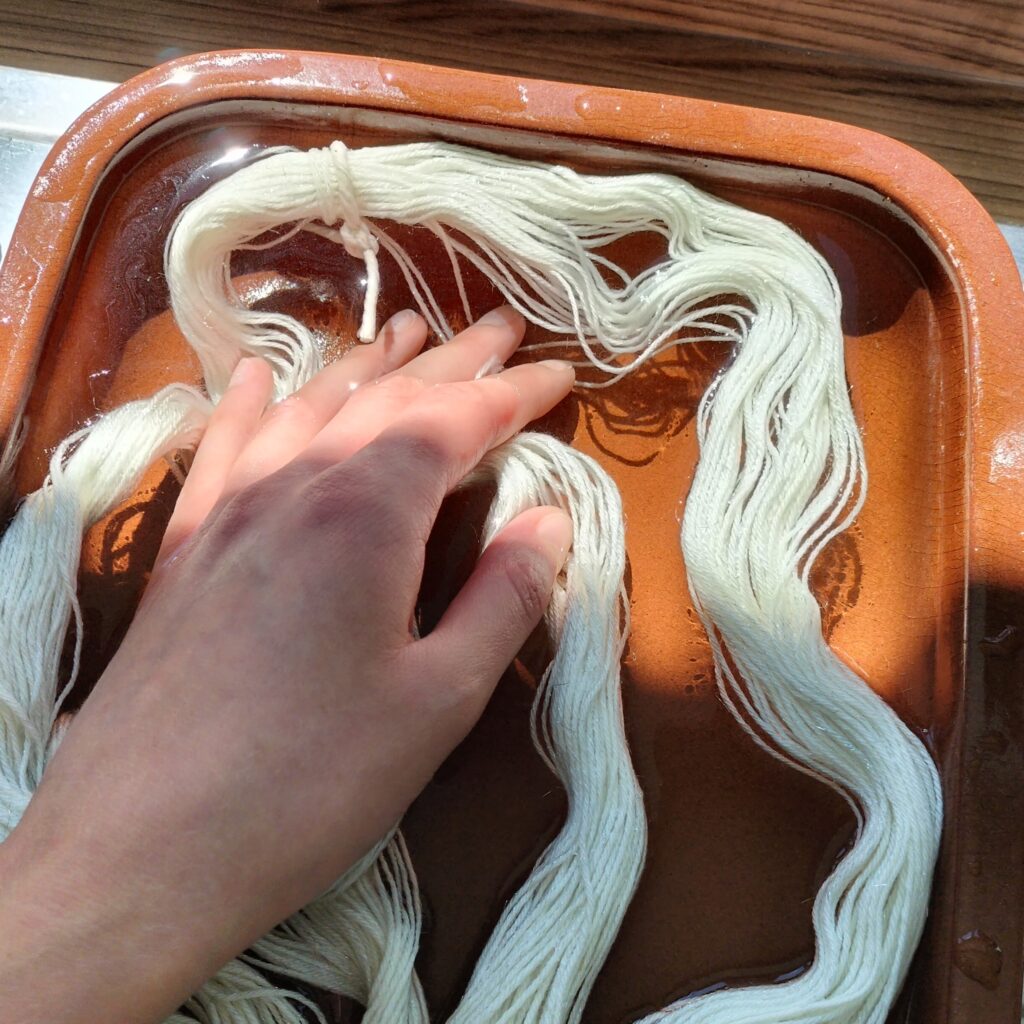
After removing the teabags, I carefully put the yarn into my dye and submerged it. Then, I set it back on the heat to get back up to a simmer. While using the pot, I kept the lid on as much as possible without allowing it to boil.
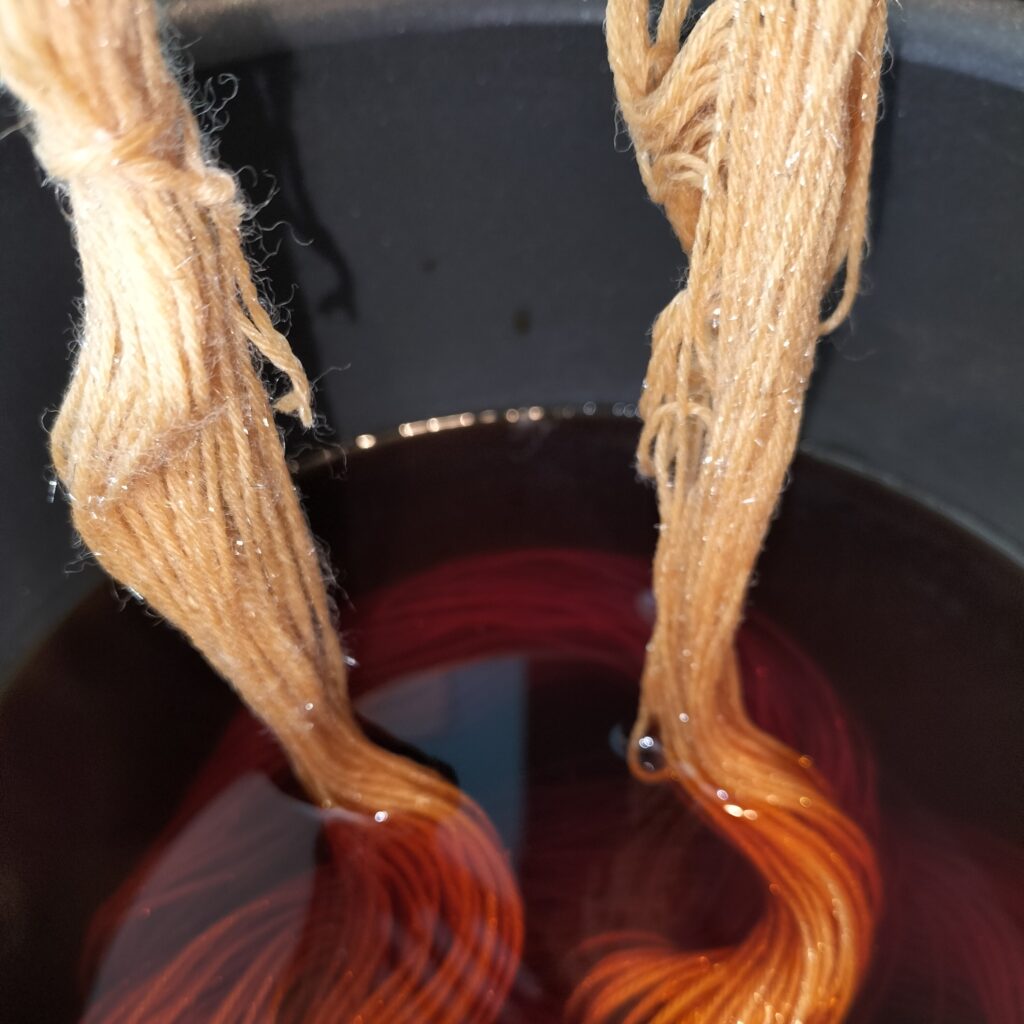
I could immediately see that the yarn was absorbing the dye – very exciting!
After I let the yarn simmer for maybe about half an hour (I also added a little bit of salt to help the colour set), I then took it off the heat again and allowed it to cool and carry on absorbing.
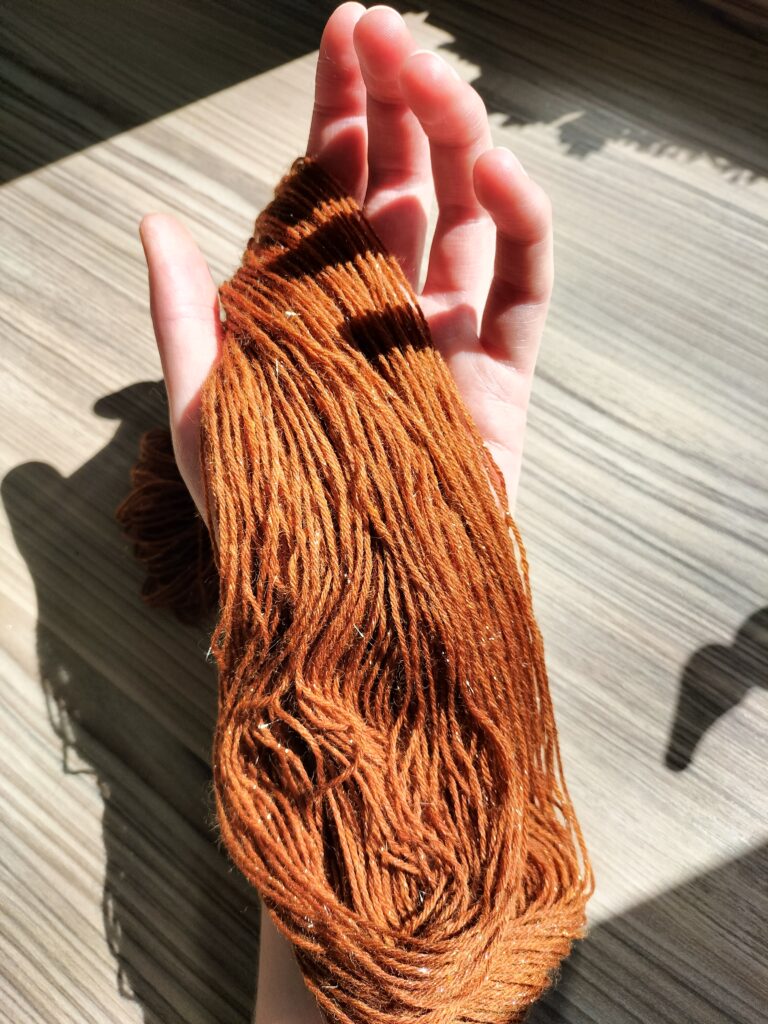
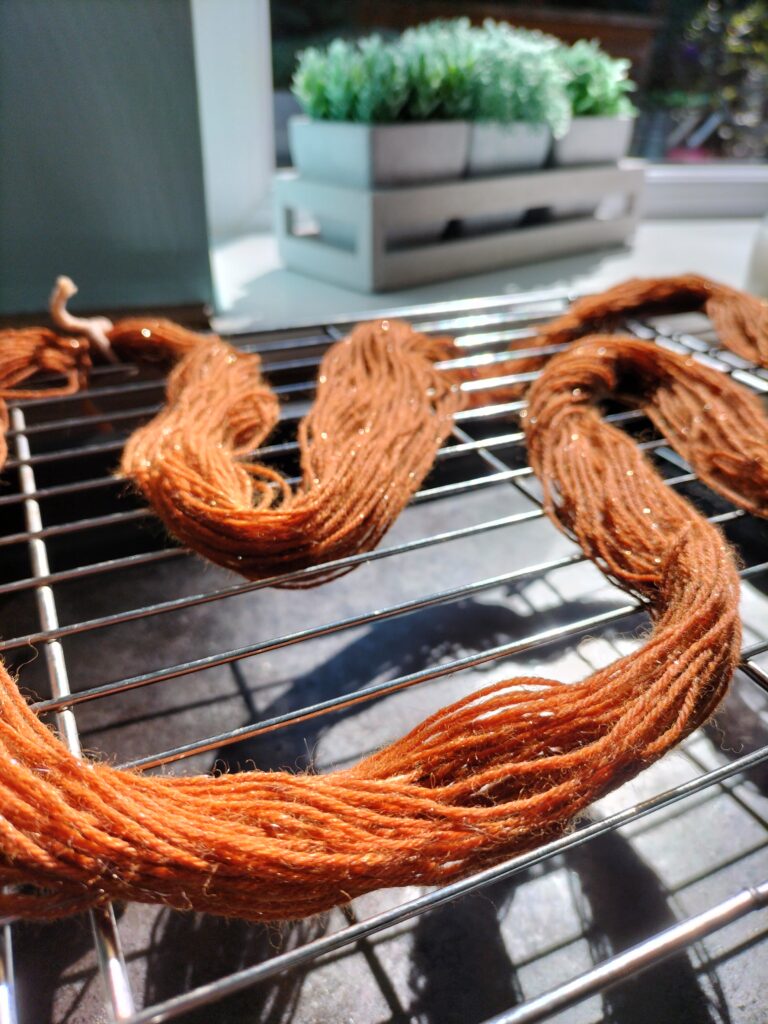
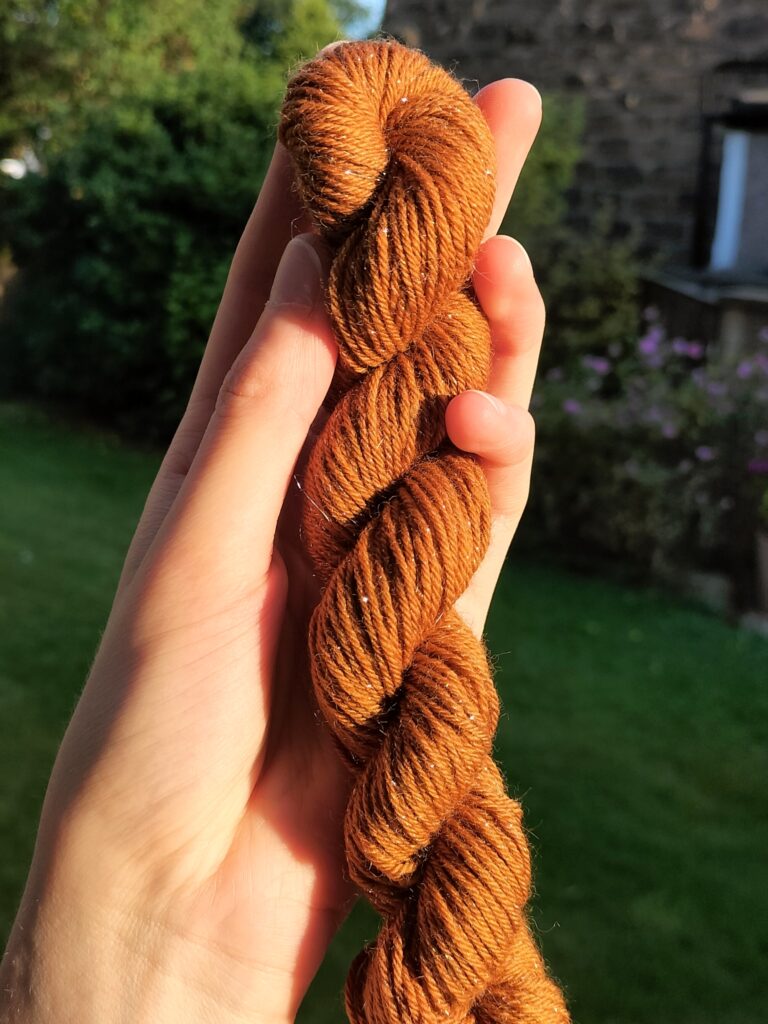
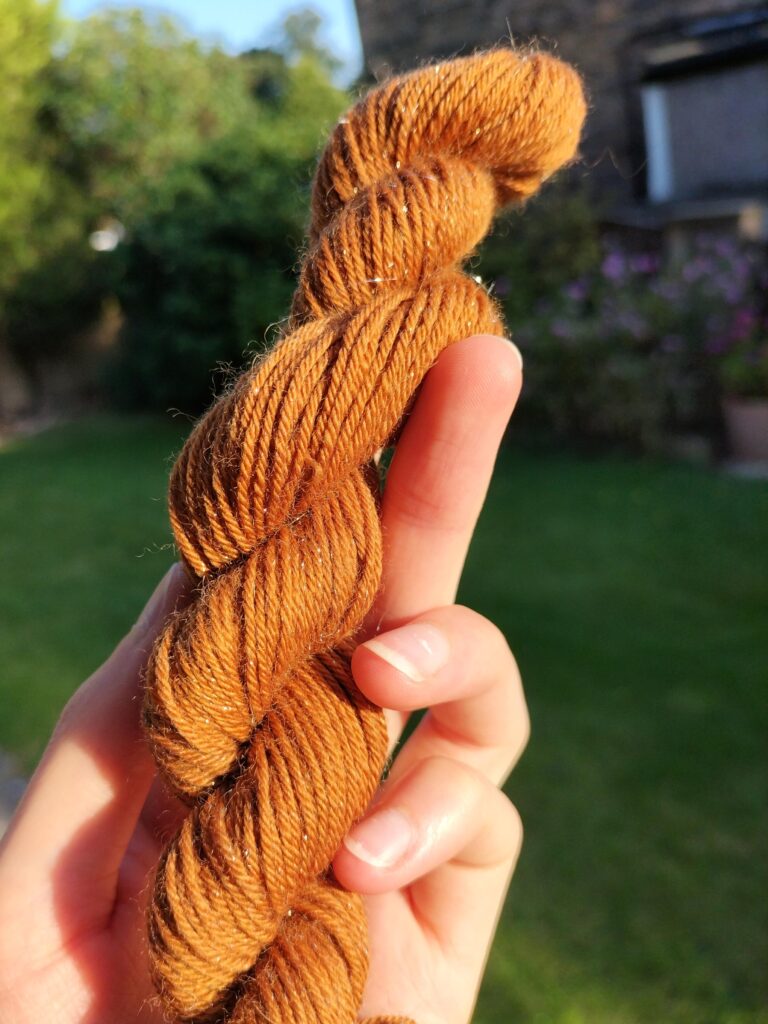
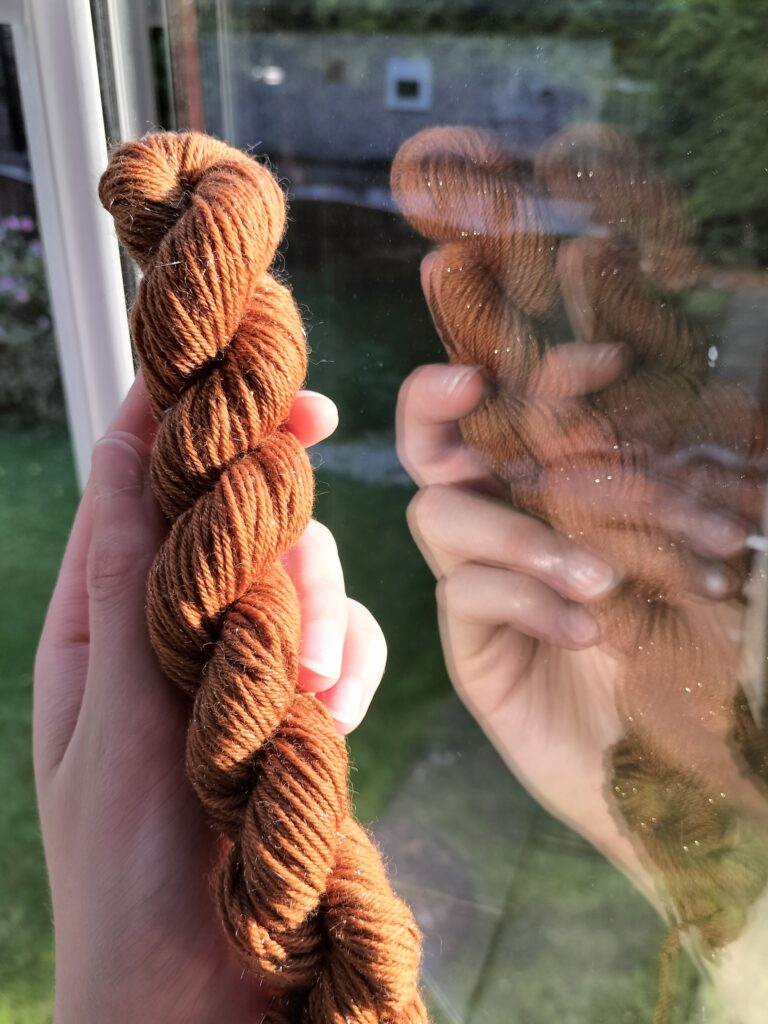
Once it was cool enough to touch safely, I took the yarn out and gently squeezed out the excess dye. It came out this beautiful warm brown colour, almost leaning towards brick red. And the sparkles were still really prominent! I then rinsed it out with lukewarm water and left it on a rack to dry off.
Once it was dry, I wound it into a skein (this is my first attempt so don’t judge it too harshly…)
I think I need to wash out the yarn before it’s ready to use but I’m so happy with the results! I hope the colour stays put!
This was such an enjoyable and rewarding experience! I’d highly recommend trying it out if dyeing yarn is interesting to you, and you have the means. Also, this wasn’t too messy either which was a plus!
I plan on dyeing the other four mini skeins in different colours too (next up, avocado skins!)
And I think I’ll use the final products in some exclusive keyrings! Let me know what else you think I should try and what kind of keyrings I should make!
Happy Knitting! – Ellie